Ever walked past a beautifully lit yard and noticed a flickering bulb or a dim glow where brilliance once shone? It’s a reminder that even the best landscape lighting needs a little TLC to stay vibrant. This guide shares practical, expert-backed tips to help you maintain your outdoor lighting and ensure your home’s curb appeal shines night after night. From cleaning fixtures to troubleshooting wiring, you’ll learn how to keep your lights bright and your outdoor space welcoming.
Why Landscape Lighting Maintenance Matters
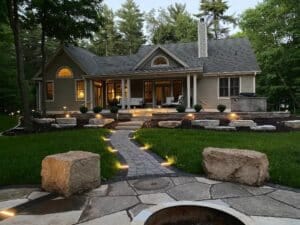
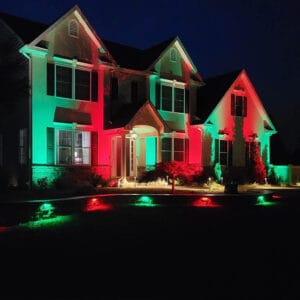
Your outdoor lights do more than illuminate – they enhance your home’s aesthetic, boost safety, and create a warm, inviting atmosphere. Neglecting maintenance can result in dimming bulbs, corroded fixtures, or costly repairs. Routine upkeep extends the life of your system and ensures your yard stays at its best. At Tru-Scapes, we specialize in premium low-voltage LED lighting, and we’ve seen firsthand how a little maintenance can make a big impact. Let’s explore the essentials of keeping your lights shining.
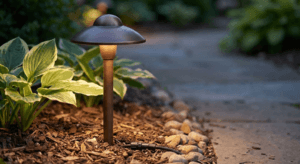
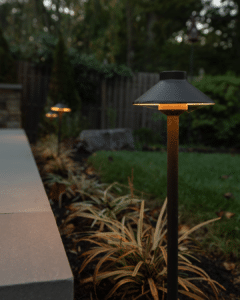
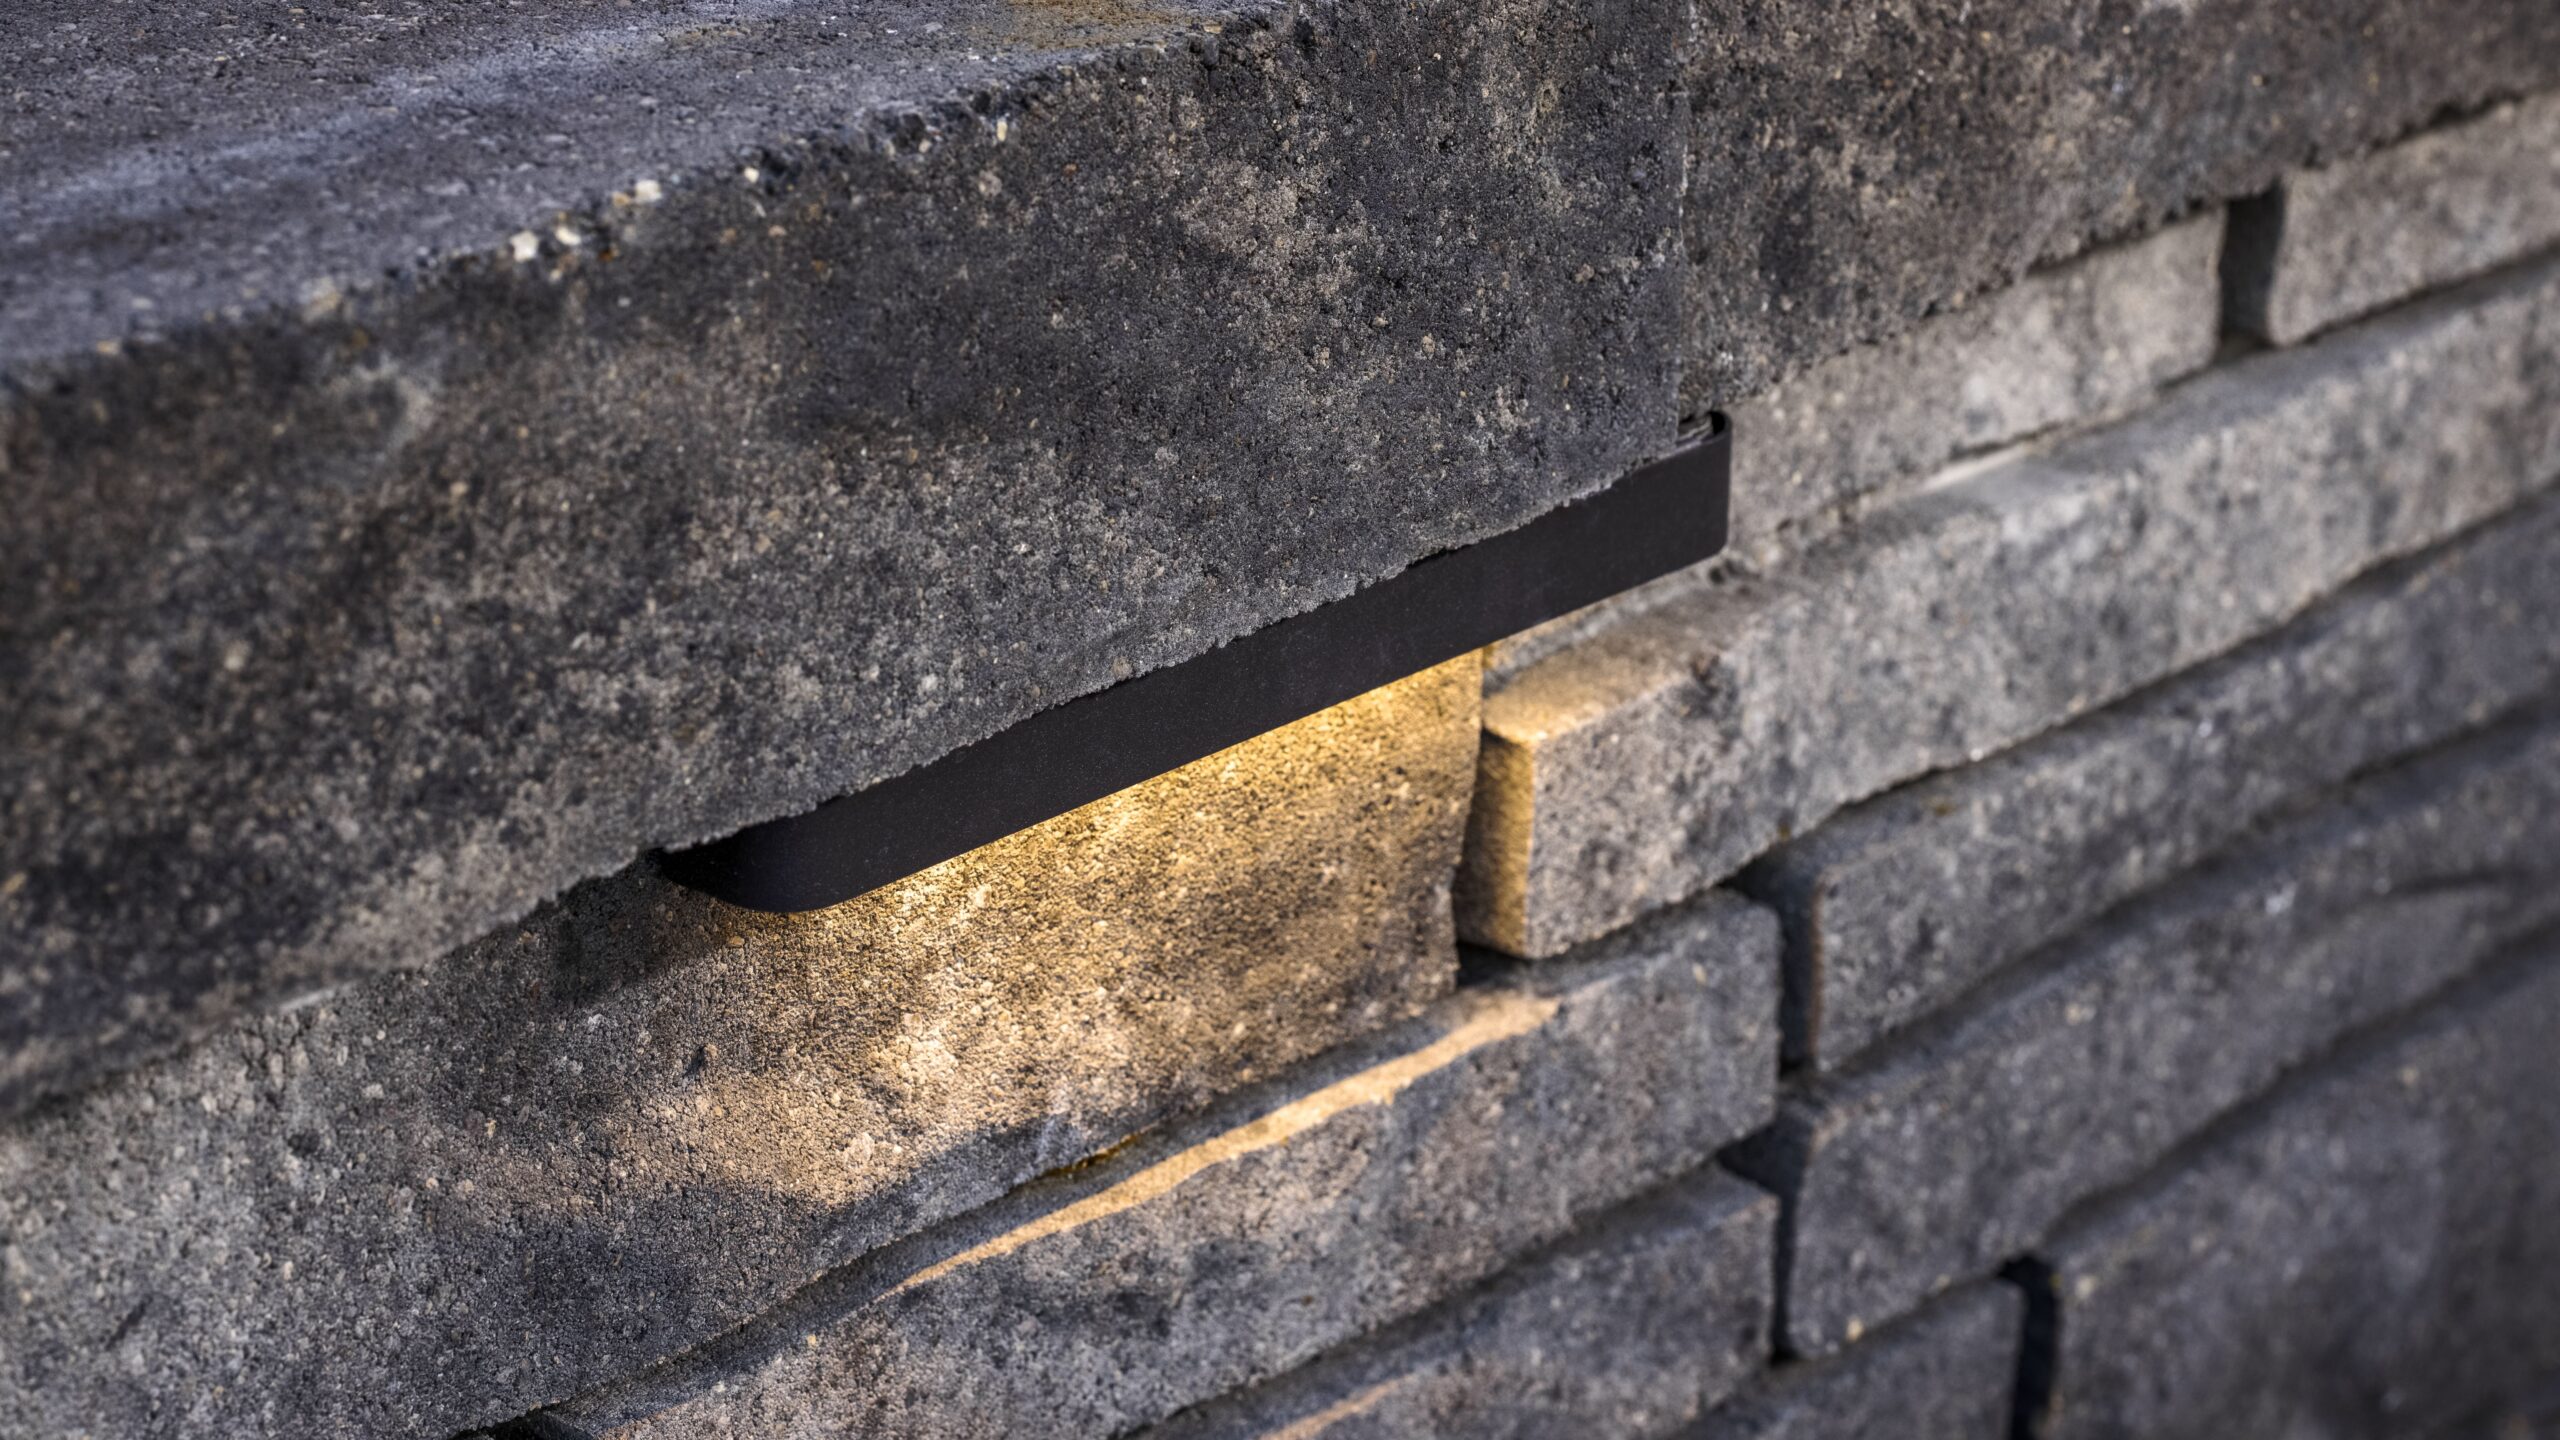
1. Clean Your Fixtures Regularly
Dirt, pollen, and grime can dull your lights’ glow, making your yard appear less vibrant. Cleaning LED fixtures fixtures is a simple yet effective way to restore their brilliance.
- Turn off the power: Always disconnect the system to stay safe.
- Use a soft cloth: Wipe lenses and fixtures with a damp, non-abrasive cloth to remove debris.
- Avoid harsh chemicals: Stick to mild soap and water to prevent damage to finishes.
- Check for water spots: Dry thoroughly to avoid streaks that can scatter light.
Pro tip: Clean your fixtures every 3–6 months, especially after pollen-heavy seasons or storms. Well-maintained fixtures not only look better but also enhance light output, helping your pathways and features shine.
Recommended Cleaning Schedule
| Season | Task | Why It Matters |
|---|---|---|
| Spring | Remove pollen and debris | Prevents buildup that can dim light |
| Summer | Clean after storms | Clears mud and leaves for better brightness |
| Fall | Clear fallen leaves | Keeps light paths clear and unobstructed |
| Winter | Check for snow/ice buildup | Protects fixtures from freezing or damage |
2. Inspect and Replace Bulbs
Even top-tier LED bulbs – like those in Tru-Scapes systems – will eventually need replacing. Regular inspections can help you identify issues before they impact your lighting design.
- Look for dimming: A fading glow usually means the bulb is nearing the end of its life.
- Check compatibility: Use LED bulbs bulbs that match your system’s voltage and wattage to ensure optimal performance.
- Replace in pairs: If one bulb in a set dims, replace both to maintain even brightness.
While LEDs can last up to 50,000 hours, heat and voltage fluctuations may shorten their lifespan, as noted by the U.S. Department of Energy. Inspect bulbs annually and keep extras on hand for quick swaps – an easy way to maintain consistent, beautiful lighting.
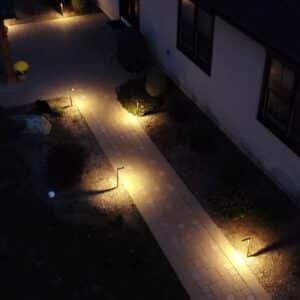
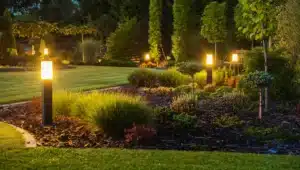
3. Secure and Adjust Fixtures
Weather, lawn equipment, or curious pets can knock fixtures out of alignment, casting light in the wrong direction. Regular checks ensure everything stays positioned as intended.
- Tighten mounts: Secure any loose stakes or brackets to prevent wobble.
- Realign lights: Adjust angles to highlight trees, walkways, or architectural elements.
- Clear obstructions: Trim back any plants or shrubs that block the light.
I once helped a neighbor realign their path lights after a storm – just 10 minutes of adjusting made their yard go from chaotic to cohesive. A walk-through every few months helps keep your lighting tidy and effective.
4. Check Wiring and Connections
Wiring issues can cause dim lights or complete outages. Routine inspections help catch problems early and prevent costly repairs.
- Look for exposed wires: Cover or bury exposed cables to protect against moisture or physical damage.
- Inspect connectors: Check that all connections are tight, clean, and corrosion-free.
- Test voltage: Use a multimeter to verify your system is delivering consistent power.
Maintaining your outdoor wiring is essential – especially with low-voltage lighting systems, like those from Tru-Scapes. While built for durability, moisture and wear can still cause issues. If you’re unsure about handling electrical work, call a professional to ensure safety.
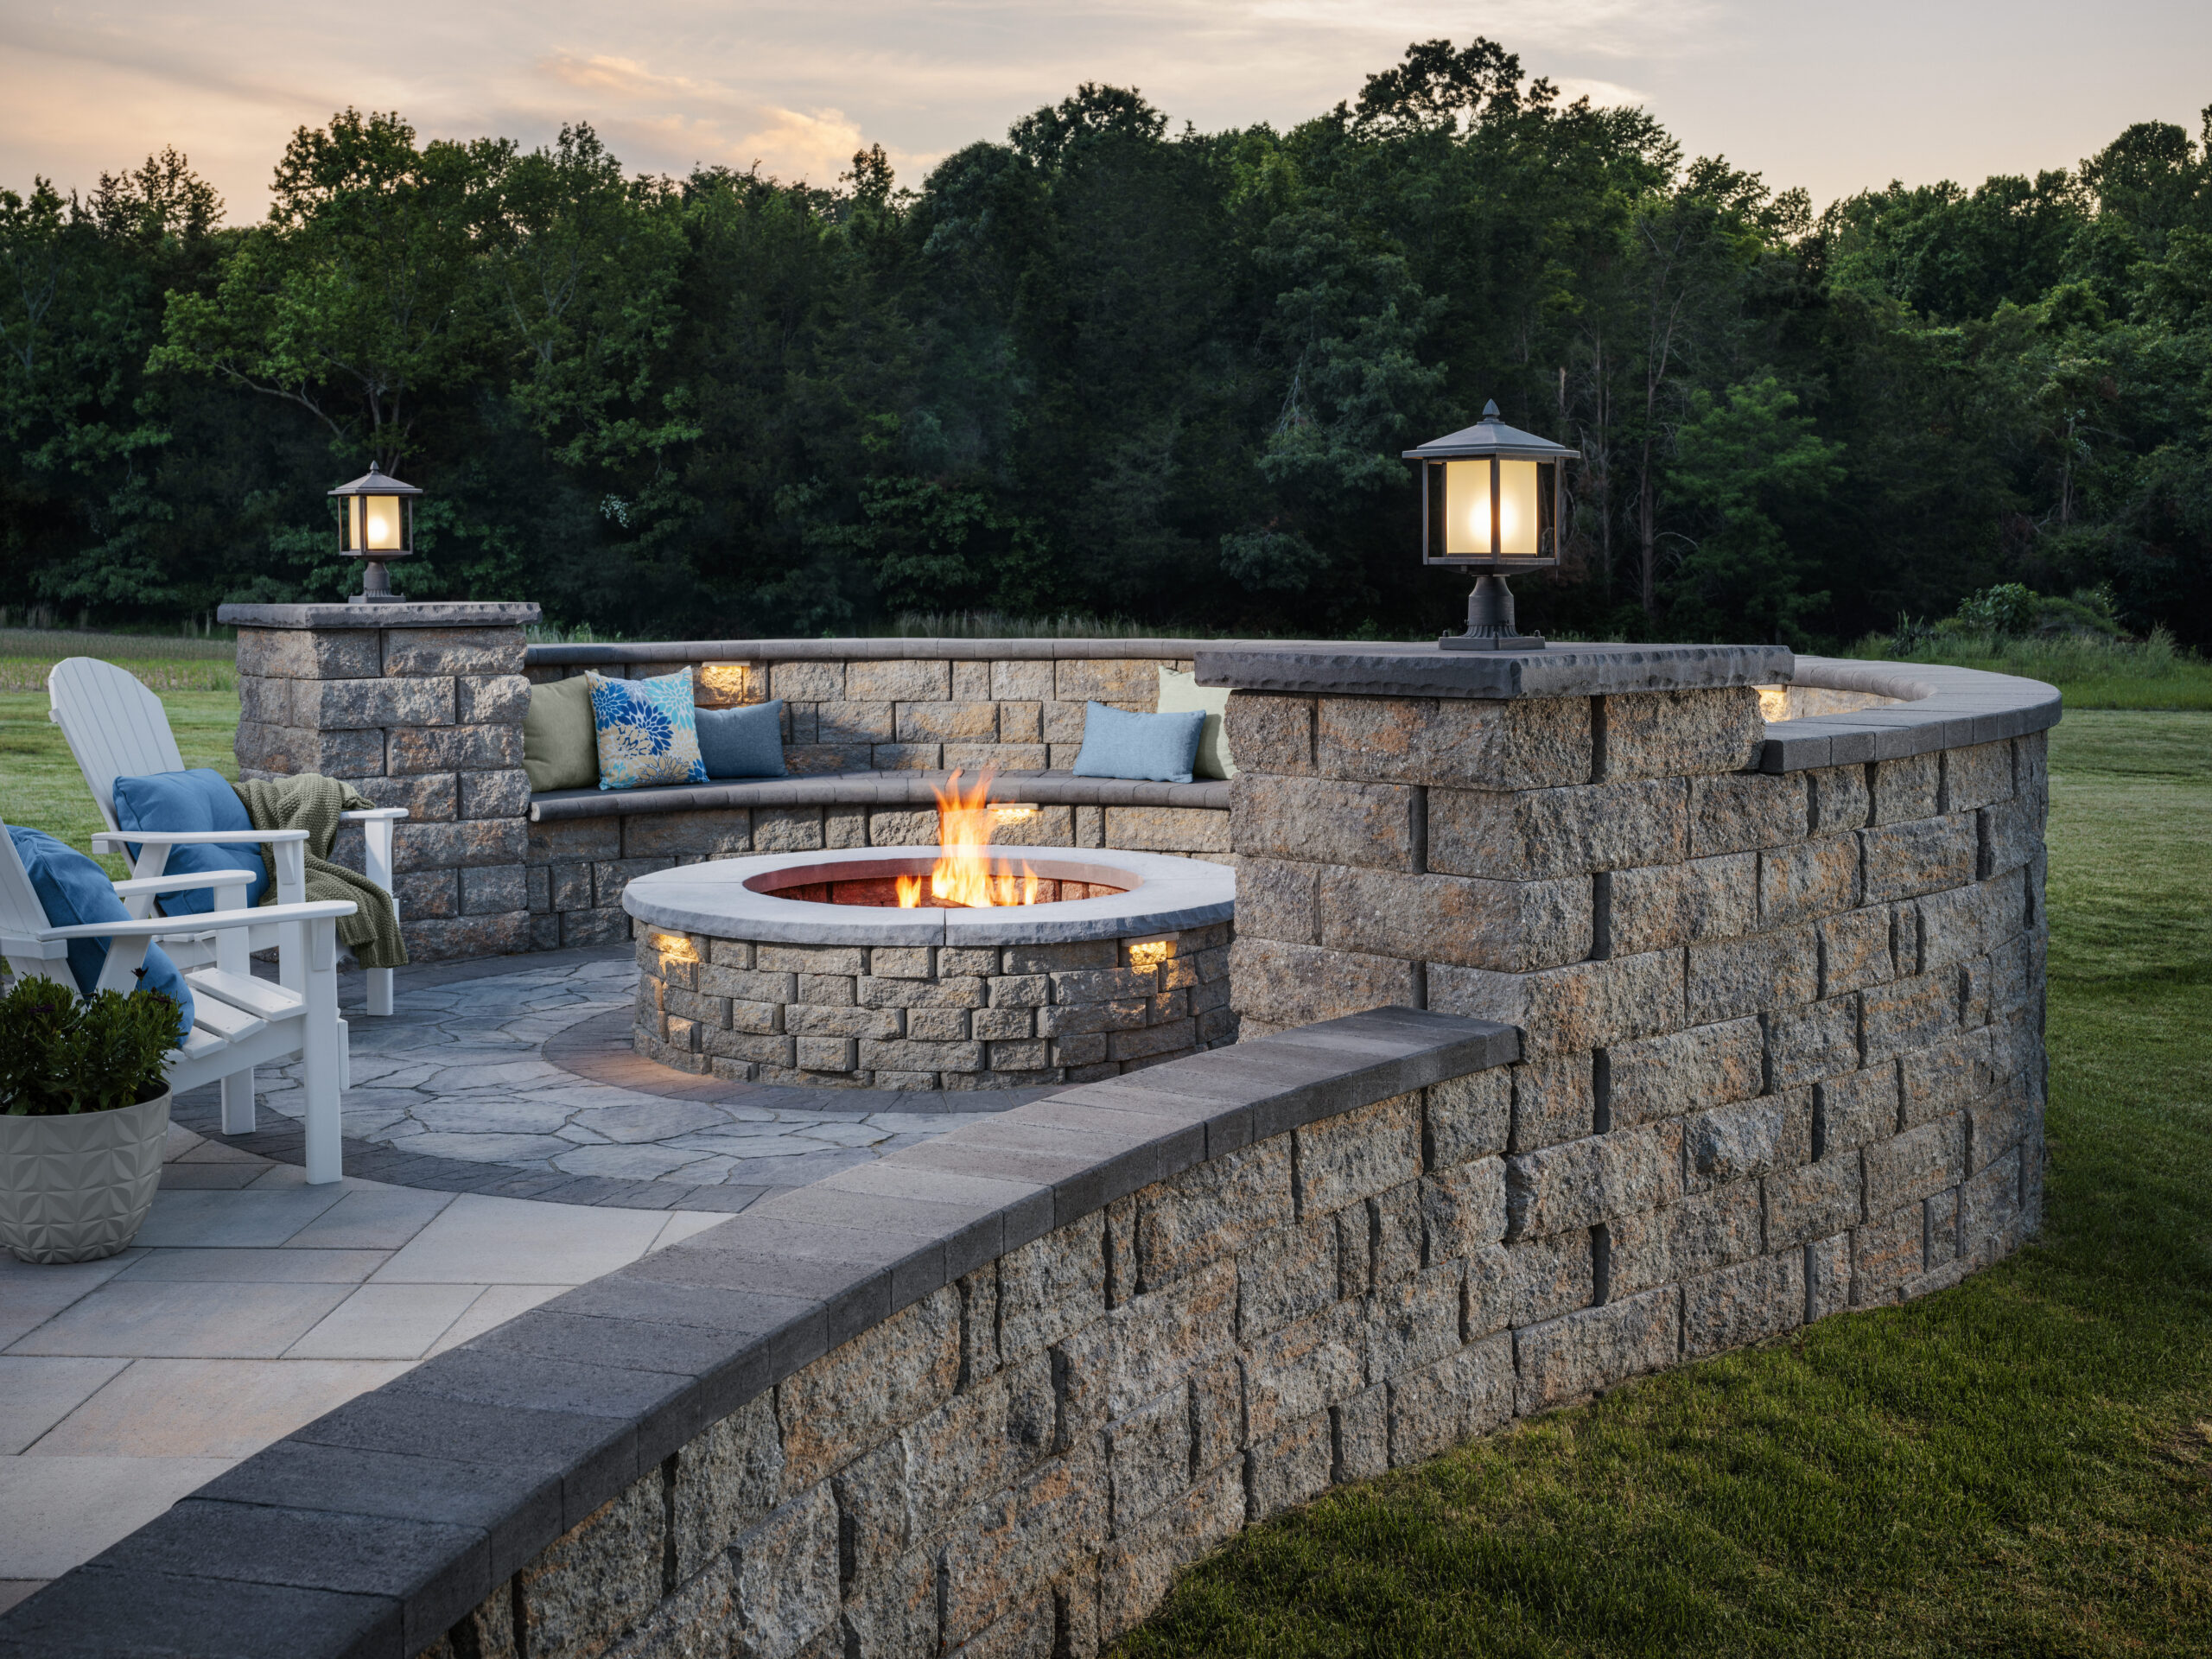
5. Protect Against the Elements
Outdoor lights are exposed to rain, snow, and extreme temperatures – all of which can take a toll over time. Taking preventive measures helps extend the life of your system.
- Seal fixtures: Ensure gaskets and seals are intact to block out moisture.
- Elevate lights: Install fixtures above ground level in flood-prone areas.
- Use weatherproof covers: Shield transformers and connectors that aren’t rated for outdoor use.
In areas with harsh winters – like the Northeast – I’ve seen homeowners extend the life of their systems by placing transformers in weatherproof enclosures. Adjust your strategy based on your local climate for the best protection.
Weather Protection Comparison
| Component | Protection Method | Benefit |
|---|---|---|
| Fixtures | Check seals, elevate bases | Prevents water damage |
| Wiring | Bury cables, install in conduit | Reduces corrosion risk |
| Transformer | Use a weatherproof enclosure | Extends equipment life |
6. Schedule Professional Maintenance
DIY care goes a long way, but professional maintenance ensures your system runs at its best. Annual checkups can catch small issues before they become big problems – keeping your lighting reliable and flawless.
- System diagnostics: Technicians test voltage, inspect transformers, and fine-tune performance – following best practices from the Lighting Research Center.
- Deep cleaning: Professionals use specialized tools to clean fixtures in hard-to-reach areas.
- Upgrades: Pros can recommend energy-efficient replacements or design enhancements.
At Tru-Scapes, our professional lighting maintenance services help keep your system glowing. One Florida client told us a single service call made their 10-year-old setup look brand new.
Frequently Asked Questions
How often should I clean my landscape lighting fixtures?
Clean your fixtures every 3–6 months. In areas with high pollen, storms, or salty coastal air, consider more frequent cleaning to prevent buildup.
Can I replace LED bulbs myself?
Yes – as long as you match the voltage and wattage to your system. Be sure to turn off the power before starting.
What’s the lifespan of low-voltage LED lighting?
Quality low-voltage LEDs – like those from Tru-Scapes – can last up to 50,000 hours with proper maintenance, offering years of dependable performance.
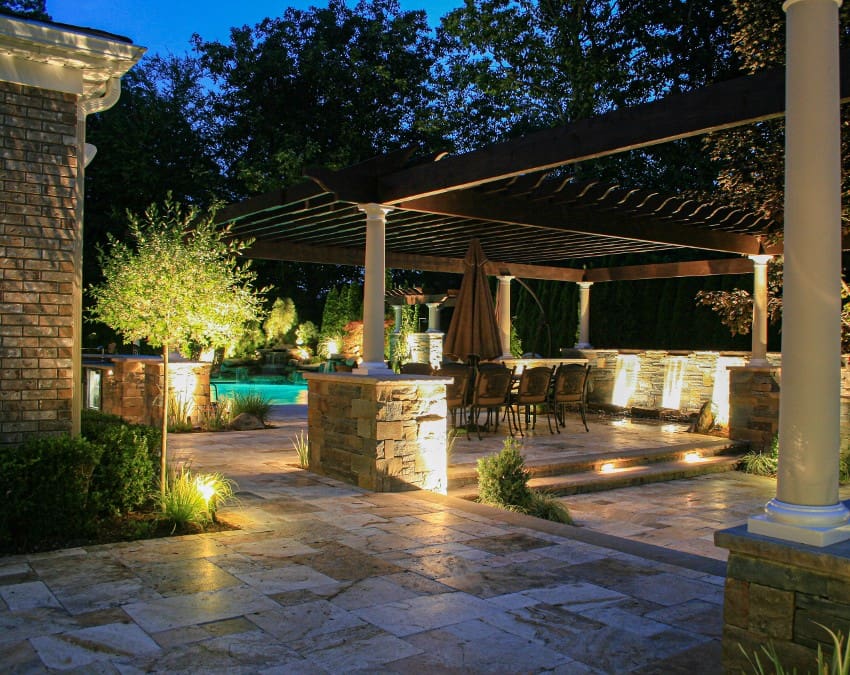
Conclusion: Keep Your Lights Shining Bright
Maintaining your landscape lighting doesn’t have to be a hassle. By regularly cleaning fixtures, inspecting bulbs, securing connections, and scheduling professional care, you can keep your outdoor space vibrant and beautiful. These simple steps not only boost your home’s curb appeal but also protect your investment in a premium system like those from Tru-Scapes. Ready to let your lights shine? Start with one tip from this guide today – and share your results in the comments below. For expert support, contact Tru-Scapes to schedule a maintenance visit and keep your yard glowing year-round.