You’ve done the hard part. You picked out the perfect LED fixtures,mapped out your design, and you’re ready to bring your home’s exterior to life. But then, after all that work, the lights at the end of the run are dim. Or maybe the whole system flickers. You’re suddenly dealing with dim or flickering lights.
What went wrong? All fingers often point to one crucial, but frequently misunderstood, component: the transformer.
Choosing the heart of your lighting system is the single most important decision you’ll make for its performance and longevity. Guessing on the size is a recipe for frustration. But here’s the good news: it’s not complicated.
This guide will teach you exactly size a landscape lighting transformer correctly, the first time. We’ll skip the dense electrical engineering jargon and give you a simple, step-by-step process.
By the end of this article, you will have the confidence to choose the perfect transformer, ensuring your landscape lighting looks stunning, runs efficiently, and lasts for years.
What Is a Landscape Lighting Transformer?
Let’s start with the basics. A low-voltage transformer is the “heart” of your entire landscape lighting system. Its one and only job is to take the standard 120-volt power from your home’s outlet and “step it down” to a much safer, more efficient 12-volt or 15-volt current.
This low-voltage power is what your LED fixtures are designed to use. Without a transformer, you can’t have a low-voltage system. But more importantly, without the right size transformer, your system will be plagued with problems.
Think of it like the water pressure in your house. If the main water line is too small (an undersized transformer), your shower will have a weak, frustrating trickle, especially if someone flushes a toilet (turns on another light). You need a “pipe” that’s big enough to handle all the demand, with a little room to spare.
Why Accurate Transformer Sizing Is Non-Negotiable
“Can’t I just buy the biggest one and be done with it?”
It’s a common question, but it’s not the best approach. And “close enough” can lead to some serious headaches. Getting the sizing right—not too big, not too small—is the “Goldilocks” principle of outdoor lighting.
What Happens If Your Transformer Is Too Small (Undersized)
This is the most common and problematic mistake. You’ve asked a 100-watt transformer to do 120 watts of work. It simply can’t keep up.
- Dim Lights: The fixtures furthest from the transformer will look dim and weak because there isn’t enough power to go around. This is known as voltage drop.
- Flickering: The system will appear unstable as the transformer struggles to meet the power demand.
- Overheating: An overloaded transformer will run hot, which is a significant safety hazard that can melt components.
- Tripped Breakers: The transformer’s built-in safety will constantly trip, shutting down your lights.
- Premature Failure: You’ll burn out both the transformer and your expensive LED fixtures long before their time.
What Happens If Your Transformer Is Too Big (Oversized)
This is less dangerous, but it’s still not ideal.
- Wasted Money: A 300-watt transformer costs more than a 150-watt one. If you only need 100 watts, you’ve paid for capacity you’ll never use.
- Lower Efficiency: Transformers are designed to run most efficiently when they are loaded to a significant portion of their capacity (e.g., 50-80%). A 300-watt transformer running a tiny 30-watt load is inefficient.
Getting the appropriate transformer wattage for landscape lighting isn’t just a recommendation; it’s the key to a professional, reliable system.
The 3-Step Formula: How to Size Your Landscape Lighting Transformer
Ready for the big secret? It’s just simple math. No advanced degrees required.
Step 1: List Your Fixtures and Their Wattage
Go through your lighting plan and make a simple list of every light you intend to install. Next to each one, write down its power consumption.
You’re looking for Watts (W). For LED fixtures, this is the actual wattage, not an “incandescent equivalent.” You can find this on the product’s box, spec sheet, or website.
A Quick Note: Watts vs. Volt-Amps (VA)
You might see another measurement called Volt-Amps (VA). In simple terms, VA is the “true” load on the transformer. With old incandescent lights, Watts and VA were the same. With modern LEDs, they can be slightly different.
Pro-Tip: If the manufacturer provides the VA rating, use VA instead of Watts. It’s the most accurate number for your calculation. If you can only find Watts, that’s perfectly fine—the math will still get you a safe and reliable result.
Let’s make a list for a sample project:
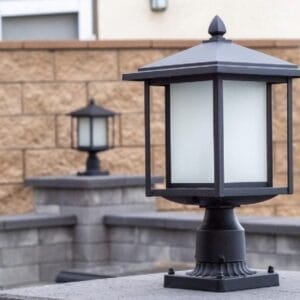
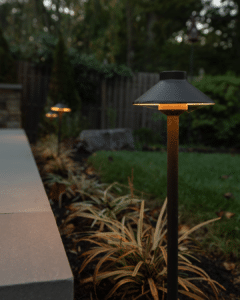
- 10 Path Lights (e.g., Tru-Scapes Path Lights) at 4W each
- 6 Spotlights (e.g., Tru-Scapes Spotlights) at 7W each
- 8 Hardscape Lights (under stair-steps) at 2W each
Step 2: Calculate Your Total Wattage (Load)
Now, do the multiplication.
- Path Lights: 10 fixtures × 4W = 40W
- Spotlights: 6 fixtures × 7W = 42W
- Hardscape Lights: 8 fixtures × 2W = 16W
Add them all together for your total load.
40W + 42W + 16W = 98W
So, we need a 98W transformer, right? Not so fast. If you buy a 100W transformer, you’re violating the most important rule of all.
Step 3: Apply the 80% Rule for Safety and Expansion
This is the expert secret that separates the pros from the amateurs.
Never load a transformer to more than 80% of its total capacity.
There are two critical reasons for this:
- Safety & Efficiency: It provides a safety buffer, reduces heat, and lets the transformer operate without strain, dramatically increasing its lifespan.
- Future-Proofing: This is the big one! You know you’re going to want to add those two extra spotlights on the new tree next year. This 20% buffer gives you room to expand your system without having to buy a whole new transformer.
Here is the calculation of required transformer capacity:
Total Wattage (from Step 2) ÷ 0.80 = Your Minimum Transformer Size
Let’s use our example:
98W ÷ 0.80 = 122.5W
This number, 122.5W, is the minimum size transformer you must buy.
Selecting Your Transformer
Transformers come in standard sizes (e.g., 75W, 100W, 150W, 200W, 300W). You can’t buy a 122.5W transformer.
You must choose the next standard size up.
- A 100W transformer is too small (122.5W > 100W).
- A 150W transformer is the perfect choice.
This gives you a safe, efficient system with 27.5W (150W – 122.5W) of extra space for that future expansion.
Here’s a handy table to illustrate the concept:
Transformer Capacity at 80% Load
| Transformer Size | Maximum Safe Load (80%) |
| 75W Transformer | 60 Watts |
| 100W Transformer | 80 Watts |
| 150W Transformer | 120 Watts |
| 200W Transformer | 160 Watts |
| 300W Transformer | 240 Watts |
| 600W Transformer | 480 Watts |
Looking at this table, you can see our 98W total load would overload a 100W transformer (max 80W) but fits perfectly under the 150W transformer (max 120W).
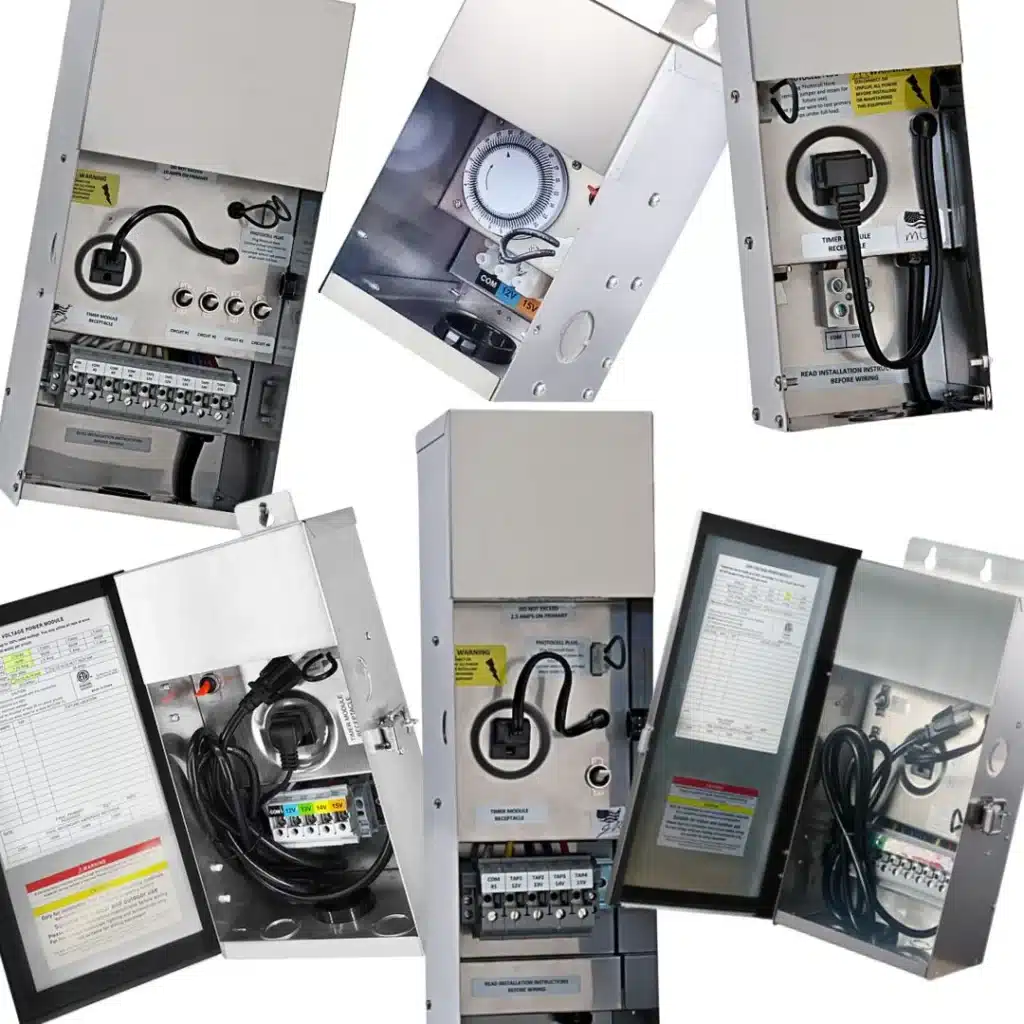
Beyond Wattage: Other Transformer Features to Consider
Once you’ve nailed down the size, there are a few other features that define a high-quality,professional-grade transformer.
1. Enclosure Material
- Stainless Steel: This is the professional standard. It’s corrosion-proof, durable, and will last for decades.
- Powder-Coated Metal/Plastic: These are typically less expensive but can be prone to rust, fading, and cracking over time, especially in harsh weather.
2. Timers and Controls
Look for transformers with built-in controls.
- Digital Timer: Allows you to set precise on/off schedules for different days of the week.
- Photocell: A small sensor that automatically turns your lights on at dusk and off at dawn. This is a “set it and forget it” feature that homeowners love.
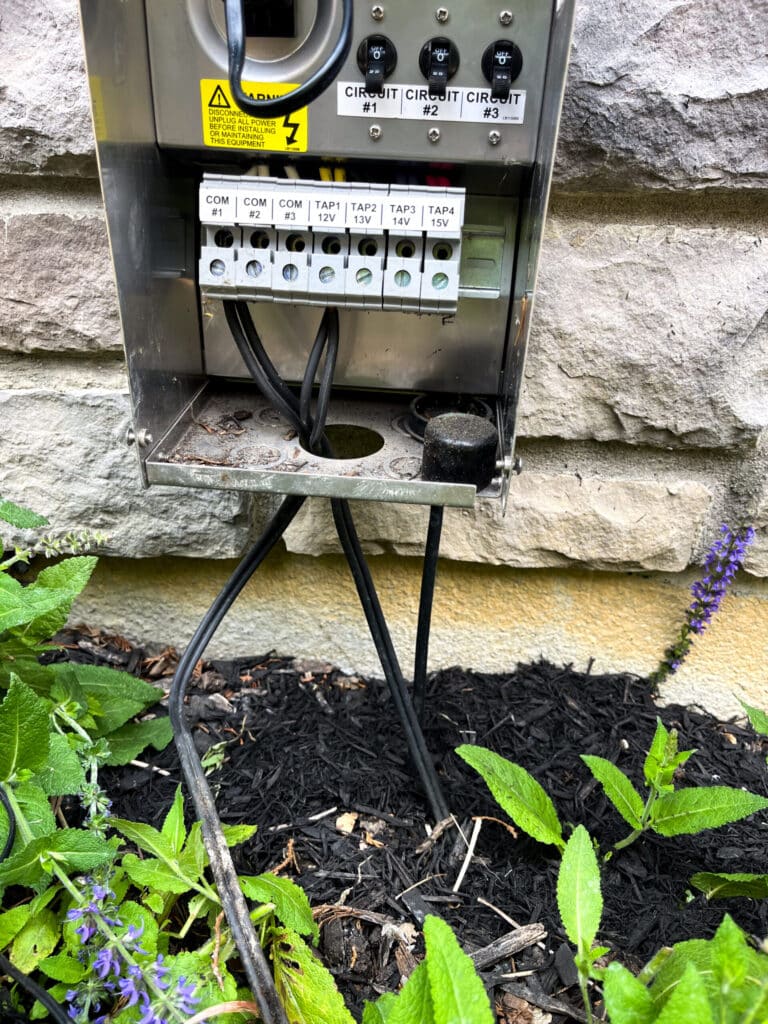
3. Voltage Taps (Multi-Tap)
This is a feature you’ll find on high-end transformers, and it’s worth it. A standard transformer has one set of terminals for 12V. A multi-tap transformer has several terminals: a 12V, 13V, 14V, and 15V.
Why does this matter? Voltage Drop.
Over a very long run of wire, that 12V current will get weaker. A light 150 feet away will be dimmer than a light 15 feet away. A multi-tap transformer solves this. You can connect that long, distant run to the 14V or 15V tap, giving it an extra “push” of power so that by the time it reaches the fixture, it’s a perfect 12V.
This is how professionals ensure every single light in a complex system is perfectly, uniformly bright.
Common Mistakes to Avoid
- Forgetting the 80% Rule: This is the #1 mistake. It leads to overloaded, overheating, and failing systems.
- Buying a “Kit” Transformer: The transformers included in all-in-one big-box-store kits are notoriously cheap and underpowered. They are the first component to fail.
- Ignoring Future Plans: Sizing your transformer exactly for your current plan leaves you no room to grow. A year later, you’re buying a second transformer.
- Not Checking Your Fixture’s Specs: Don’t guess the wattage. “Small” doesn’t mean “low wattage.” A 20W “small” spotlight will throw your entire calculation off. Always use the manufacturer’s spec sheet.
Your System Is Sized. What’s Next?
Sizing your transformer isn’t just an item on a checklist; it’s the foundation of your entire lighting project. By following these three simple steps—List, Calculate, and Divide by 0.80—you’ve taken the most important step toward a stunning, professional, and reliable system.
You’re no longer guessing. You have the calculation of required transformer capacity and can confidently select the appropriate transformer wattage for landscape lighting for your specific needs.
Now that you know how to power your system, the fun part begins.
Are you ready to build the system you’ve been dreaming of? Explore our full line of professional-grade LED fixtures and durable, multi-tap stainless steel transformers at Tru-Scapes.com.
Do you have a question about your specific project? Or a tip you’ve learned along the way? Drop a comment below!