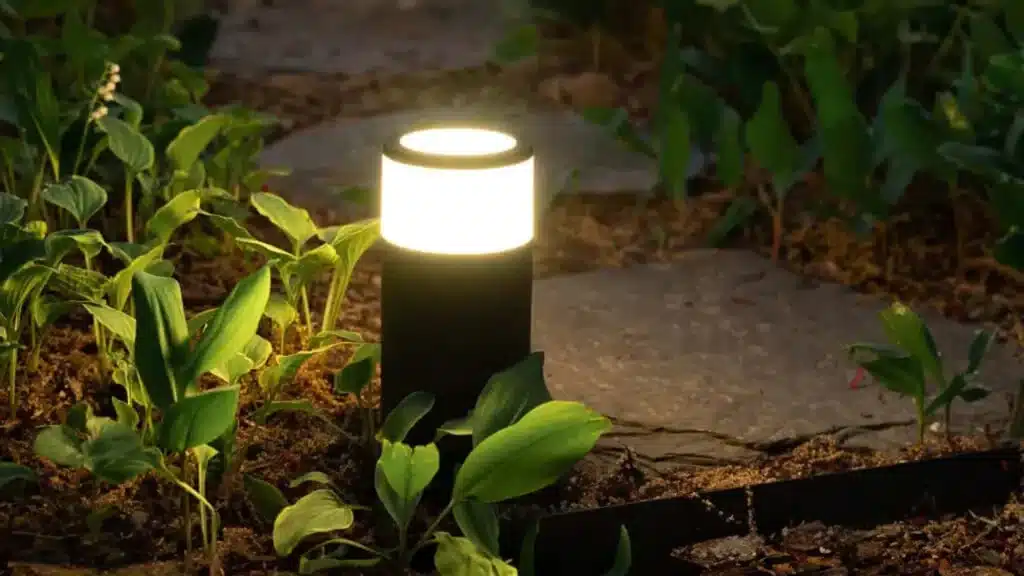
There’s nothing more disappointing than getting ready to enjoy your beautifully lit yard, only to flip the switch and find a single dark spot—or worse, total darkness. Your elegant outdoor lighting is an investment in your home’s beauty and security. When it stops working, it’s more than just an inconvenience.
But don’t call in the professionals just yet. Many common landscape lighting issues have surprisingly simple fixes. This comprehensive landscape lighting troubleshooting guide will walk you through diagnosing problems step-by-step, from a single flickering bulb to a system-wide outage. You’ll learn how to identify the cause and, in many cases, how to fix it yourself safely.

Your Landscape Lighting Troubleshooting Guide: Start with the Simplest Checks
Before you start digging up wires or taking fixtures apart, always begin with the easiest potential culprits. In the world of lighting troubleshooting, the simplest solution is often the right one.
- Check the Power Source: Your entire system depends on a standard electrical outlet. Most outdoor outlets are Ground Fault Circuit Interrupter (GFCI) outlets. These are designed to shut off power instantly if they detect a fault, often caused by moisture. Look at the outlet your transformer is plugged into. Is the small light off? Press the “RESET” button firmly. If it clicks and power returns, you’ve found your problem. If it trips again immediately, you may have a short circuit somewhere in the system.
- Check the Circuit Breaker: If the GFCI reset doesn’t work, head to your home’s main electrical panel. Find the breaker that corresponds to your outdoor outlet and see if it has been tripped to the “OFF” position. If so, flip it back on. Like a GFCI, if it trips again right away, it’s a sign of a deeper electrical issue that needs attention.
- Check the Transformer: Your low-voltage transformer is the heart of your lighting system.
- Timer/Photocell: Is the timer set correctly? Power outages can reset digital timers. If you have a photocell, is it clean? Dirt or debris can trick it into thinking it’s still daytime. Give it a gentle wipe with a soft cloth.
- Power Switch: It sounds obvious, but make sure the transformer’s own power switch is in the “ON” position. It can easily get bumped by people, pets, or equipment.
Landscape Lighting Troubleshooting Guide: Solving Specific Issues
If the basic checks didn’t solve the problem, it’s time to dig a little deeper. Let’s break down the most common scenarios you’ll encounter.
Problem: Just One Light is Out
When a single fixture goes dark, the problem is almost always localized to that specific light.
- The Bulb: Even long-lasting LED bulbs can eventually fail. The first step is to carefully swap the bulb from the non-working fixture with a bulb from a working one. If the “good” bulb lights up in the faulty fixture, you just need a new bulb. If the “bad” bulb still doesn’t work in the good fixture, you’ve confirmed the bulb is the issue.
- The Connection: Low-voltage wires are typically connected to the fixture with two small prongs that pierce the insulation. These connections can sometimes become loose over time. Unplug the transformer, gently wiggle the fixture’s connector, and ensure it has a firm connection to the main wire.
- Moisture and Debris: Water is the enemy of electrical systems. Open the fixture and check for signs of moisture, corrosion, or dirt inside the socket. Clean it out with a dry cloth or brush, ensure the rubber gaskets are intact, and reassemble it securely.
Problem: A Section of Lights is Out
When an entire group of lights goes out while others remain on, the issue lies somewhere along the wire that feeds that section.
- Look for a Cut Wire: This is the most common culprit, especially after recent yard work. Walk the line from the last working light to the first non-working light. Look carefully for any visible damage to the wire from a lawn aerator, shovel, or edger. If you suspect a deep cut that requires digging, it’s crucial to stay safe by contacting a service like 811 before you dig.
- Check the Hub Connection: If your system uses a hub layout (where multiple wires branch off from a central point), check the connections for that specific zone at the hub. A loose wire nut or terminal can easily disconnect an entire section.
Problem: All Lights Are Out (But the Transformer Has Power)
This is one of the most frustrating problems. The transformer is humming, the GFCI is fine, but your yard is dark.
- Test the Transformer Terminals: This step requires a multimeter, a valuable tool for any DIYer. Set your multimeter to AC voltage (V~). With the transformer on, carefully touch the probes to the two output terminal screws. You should get a reading between 12 and 15 volts. If you get a reading, the transformer is working, and the problem is in the wiring. If you get zero, the transformer itself has failed and needs to be replaced.
- The Main Wire: If the transformer is outputting power, the problem is likely a cut in the main wire very close to the transformer, before it has a chance to branch off to any lights. Inspect the wire right where it leaves the transformer, as this is a common spot for damage.
Problem: Lights are Flickering or Very Dim
Dimming or flickering lights often point to a power delivery issue, not a problem with the fixtures themselves.
- Overloaded Transformer: Every transformer has a maximum wattage capacity. If you’ve added more lights to your system over time, you may have exceeded what the transformer can handle. Add up the total wattage of all the bulbs on the circuit. If it exceeds 80% of the transformer’s capacity, it’s overloaded. You’ll need to either remove some fixtures or upgrade to a more powerful transformer.
- Voltage Drop: This happens when a wire run is too long or the wire gauge is too thin for the electrical load. The lights at the end of the run will be noticeably dimmer than those closer to the transformer. The solution is often to use a thicker gauge wire, split the run into two separate runs, or use a multi-tap transformer that allows you to boost the voltage for longer runs.
- A Loose Connection: A single poor connection anywhere in the system can cause all the lights to flicker as the electrical current struggles to get through. This requires a patient check of each and every connection point.
Landscape Lighting Maintenance: Troubleshooting Before a Problem Starts
The easiest way to handle outdoor lighting repair is to avoid it in the first place. These simple maintenance tips can save you a lot of headaches.
- Clean Fixtures: Once or twice a year, wipe down fixture lenses to remove hard water spots, dirt, and debris. This ensures maximum light output.
- Bury Exposed Wires: Walk your property and look for any wires that have worked their way to the surface. Gently push them back under the mulch or soil to protect them from mowers and foot traffic.
- Prune Landscaping: Trim back overgrown plants that might be blocking light or putting pressure on fixtures and wires.
- Check Fixture Aim: Heavy rain or shifting ground can knock your lights out of position. Periodically check their alignment, especially after major weather events.
DIY vs. Pro: When This Troubleshooting Guide Recommends an Expert
While many issues are DIY-friendly, some jobs are best left to the experts. Electrical work can be dangerous if you’re not confident, and a professional can often diagnose a complex problem in minutes that might take you hours.
Here’s a quick guide to help you decide.
| Task | DIY-Friendly? | When to Call a Professional |
| Changing a Bulb | Yes | If you’re unsure of the correct replacement bulb. |
| Resetting a GFCI/Breaker | Yes | If it keeps tripping immediately, indicating a short circuit. |
| Repairing a Minor Wire Nick | Maybe | If you’re comfortable with waterproof wire connectors. |
| Replacing a Transformer | No | Transformer issues or system-wide outages require expert diagnosis and safe installation. |
| Diagnosing Voltage Drop | No | A pro has the tools and knowledge to correctly diagnose and fix complex wiring issues. |
Keep Your Nights Bright
A well-maintained landscape lighting system transforms your property after dark. By following this landscape lighting troubleshooting guide, you’re equipped to handle the most common issues that arise. Remember to start with the simple fixes first—check the power, inspect the bulb, and look for obvious damage. Regular maintenance tips like cleaning lenses and burying wires will prevent most problems from ever starting.
Don’t let a minor glitch keep you in the dark. With a little patience and these expert tips, you can keep your landscape illuminated beautifully for years to come.
Ready to upgrade a faulty fixture or need a more powerful transformer? Browse our full line of professional-grade landscape lighting components at Tru-Scapes. For complex repairs, we always recommend consulting a certified lighting professional to ensure the job is done safely and correctly.