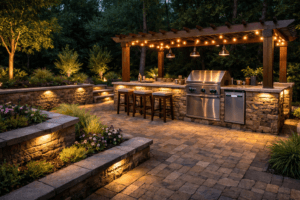
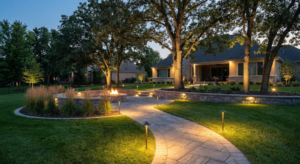
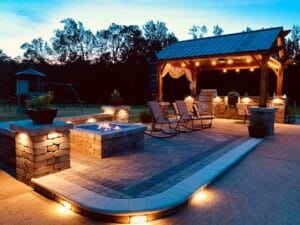
You’ve invested time and money into designing a beautiful outdoor lighting system. You’ve placed every fixture perfectly. You go to flip the switch for the big reveal, and… disappointment. The lights near the house look great, but the ones at the far end of the yard are dim, weak, or glowing a sickly orange.
What gives?
This is the single most common problem in low-voltage lighting. You’re seeing a classic case of landscape lighting voltage drop.
It’s frustrating, but the good news is that it’s almost always fixable. This is one of the most frequent 12V system performance issues homeowners and even new installers face. But it’s not a mystery—it’s just science.
By the time you finish this guide, you will understand exactly what voltage drop is, the simple math behind it, and the practical, easy-to-follow steps to fix it. We’ll help you turn those dim fixtures into the bright, welcoming lights you paid for.
What Exactly Is Voltage Drop? (And Why It Happens)
Let’s keep this simple. Voltage is the electrical “pressure” in the wire. To understand it, just think of your garden hose.
- Your Transformer is the spigot on your house, providing the pressure.
- Your Wire is the garden hose.
- Your Light Fixtures are the sprinklers attached to the end.
If you use a very short, very wide hose, you get a powerful blast of water from the sprinkler.
But what if you use a 100-foot, very thin hose (like one of those “pocket” hoses)? By the time the water gets to the end, the pressure is gone. It just trickles out. The friction inside that long, thin hose “dropped” the pressure.
Electricity works the exact same way.
Your transformer (the spigot) puts out 12 volts (12V) of pressure. Your LED fixtures (the sprinklers) are designed to run on, say, 10.5 to 12.5 volts.
But that 100-foot run of thin wire (the hose) creates electrical friction, or “resistance.” This resistance eats up the voltage along the way. By the time the electricity reaches that last fixture, it might only have 9V left.
That 9V isn’t enough. The result? A dim light. That is landscape lighting voltage drop.
The 4 Main Culprits: The Cause of Dim Landscape Lights
When you trace the problem, it almost always comes down to one of these four culprits.
1. The Wire Gauge is Too Small
This is the “thin hose” problem. In electrical wiring, the “gauge” (or AWG) refers to its thickness. It’s a backward system: a smaller number is a thicker wire.
- 18-Gauge or 16-Gauge Wire: Very thin. High resistance.
- 12-Gauge or 10-Gauge Wire: Much thicker. Low resistance.
Many budget-friendly lighting “kits” come with 18-gauge wire. This is fine for one or two lights on a 20-foot run, but it’s a disaster for lighting an entire property. It simply can’t carry enough power over distance.
2. The Wire Runs are Too Long
This is the “long hose” problem. The farther you try to send the power, the more voltage you will lose. Resistance is cumulative. A 200-foot run of wire will have four times the voltage drop of a 50-foot run, even if the wire gauge is the same.
3. You’ve Overloaded the Line
This is the “too many sprinklers” problem. Every light you add to a single wire run draws power. The more lights, the more power you’re trying to pull through the wire, which magnifies the effect of resistance.
A common mistake is creating one long “daisy chain” of 15 fixtures. The first light gets 12V and looks great. The eighth light gets 10.5V and looks okay. The fifteenth light gets 8V and looks terrible. This wiring method is the single biggest cause of dim landscape lights.
4. Poor or Corroded Connections
This is a sneaky one. Every connection—every wire nut, every quick-connect clip—is a potential point of failure. A connection that is loose, dirty, or corroded with water and soil acts like a kink in the hose. It creates a bottleneck of high resistance, robbing power from every light down the line.
How to Fix (and Prevent) Landscape Lighting Voltage Drop
Okay, enough with the problems. Let’s get to the solutions for low-voltage dimming. Whether you’re fixing a dim system or planning a new one, these are the professional strategies that guarantee bright, even lighting.
Solution 1: Use a Thicker Wire
This is the most important rule. Do not plan your main lines with 16-gauge wire.
For all your main “trunk” lines that run from the transformer into the yard, you should use 12-gauge wire (12/2). For extremely long runs (over 200 feet) or very high-wattage zones, pros will even step up to 10-gauge (10/2).
You can save the thinner 16-gauge or 18-gauge wire for short “jumper” wires—the 2-3 foot connection from your main 12-gauge line to the individual fixture.
Here is a general guide to help you choose.
| Wire Gauge (AWG) | Common Max Wattage* | Recommended Max Run Length* | Best Use Case |
| 18/2 | 50W | < 50 feet | Single fixture jumper wire. |
| 16/2 | 100W | < 100 feet | Short, low-wattage runs. |
| 14/2 | 150W | < 150 feet | Good for moderate-sized zones. |
| 12/2 | 200W | < 200 feet | The professional standard for main runs. |
| 10/2 | 300W | > 200 feet | Very long runs or high-load zones. |
*Note: These are general guidelines for LED systems. Always check the specifications on your transformer and fixtures.
Getting the wire gauge right is a common challenge that often comes up in professional landscape lighting installation vs. DIY debates.
Solution 2: Change Your Wiring Layout
This is the most powerful design strategy. Stop using a single daisy chain. Instead, use one of these two superior methods.
- The Hub (or “T”) Method:
- Run one thick 12-gauge wire from your transformer to a central point in a landscape bed.
- From that central “hub,” branch off with 2-3 shorter wires going in different directions to your groups of lights.
- This ensures no single light is too far from the main power feed.
- The Center-Feed Method:
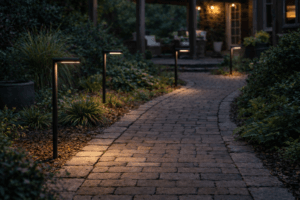
- Let’s say you have 8 path lights for a long walkway.
- Instead of starting the wire at light #1, run your main wire to light #4.
- From there, connect the wire in two directions: one line going to lights 4-3-2-1, and a second line going to 5-6-7-8.
- You have just cut your effective wire length in half, which dramatically reduces voltage drop.
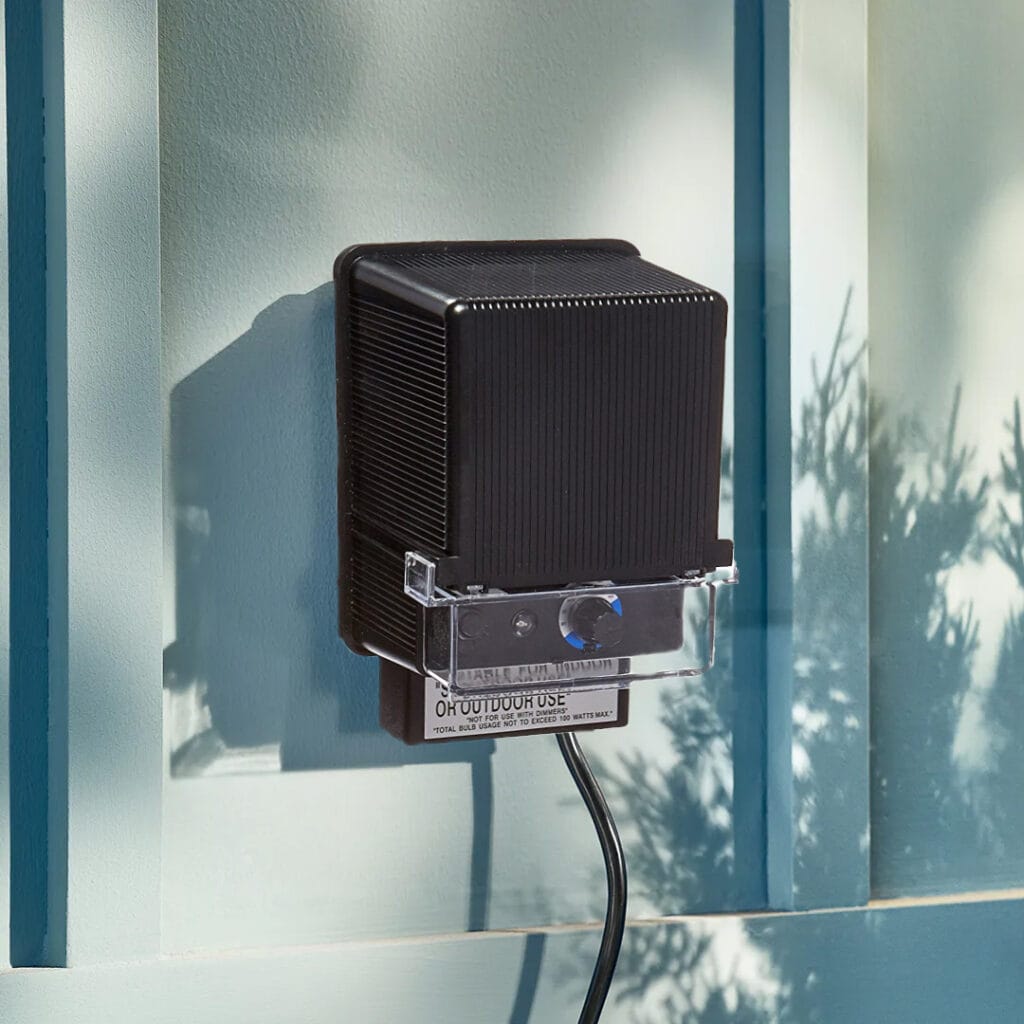
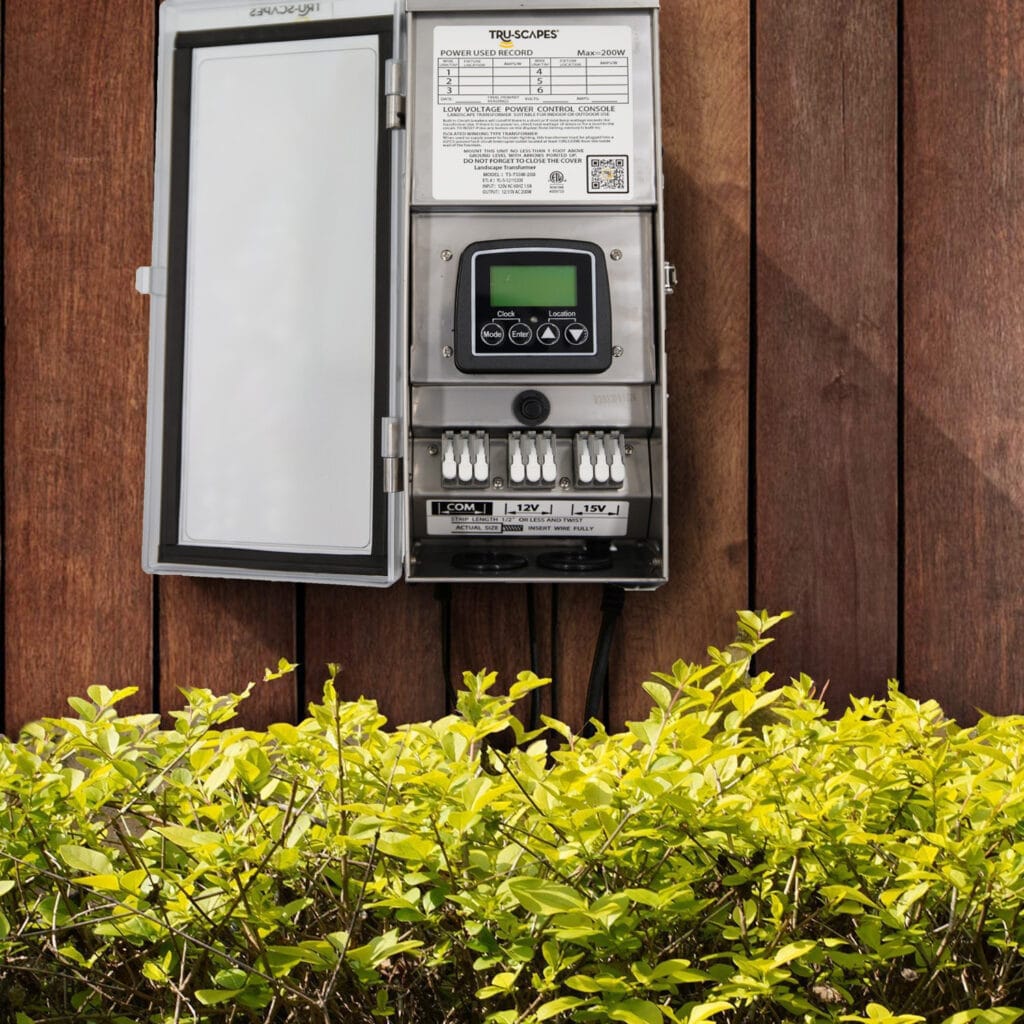
Solution 3: Use a Multi-Tap Transformer
This is the professional’s secret weapon for managing 12V system performance issues from the start.
A standard transformer has one connection terminal: 12V.
A multi-tap transformer has several connection terminals: a 12V, 13V, 14V, and 15V tap.
Why? Because the pros know they will lose voltage on a long run.
- For the short run of lights near the patio, they connect to the 12V tap.
- For the medium run to the flower beds, they connect to the 13V tap.
- For the extra-long run to the trees at the back of the property, they connect to the 15V tap.
They intentionally “overpower” the long run. They lose 2-3 volts along the wire, and the fixtures at the end receive a perfect 12-13V. High-quality transformers, like the ones from Tru-Scapes, are built with these options specifically to combat voltage drop.
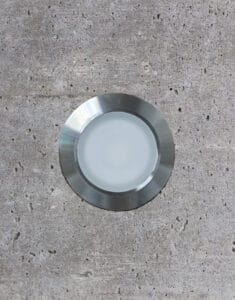
Solution 4: Switch to LED Fixtures
This is the easiest fix if you have an old halogen system.
Old-fashioned halogen bulbs are power-hungry. A single one can use 20W, 35W, or even 50W. Modern, high-quality LED fixtures use a fraction of that—typically 3W to 7W—while producing the same amount of light.
Let’s do the math:
- Old System: 10 halogen lights @ 20W each = 200-watt load.
- New System: 10 LED lights @ 5W each = 50-watt load.
That 50-watt load will pull far less power, creating significantly less “friction” and all but eliminating your voltage drop. If your system is old and dim, swapping the fixtures for energy-efficient, professional-grade LEDs is the number one solution for low-voltage dimming. All Tru-Scapes fixtures use modern, energy-efficient LED technology, which not only saves you money but provides a built-in defense against voltage drop.
Your Voltage Drop Questions, Answered
Can a bad transformer be the cause of dim landscape lights?
It’s possible, but less common. If all your lights are dim (even the ones close to the transformer), your transformer might be undersized for the job (e.g., you have 100W of lights on a 75W transformer) or it may be failing. But if only the farthest lights are dim, it’s 99% a voltage drop issue in the wiring.
Is landscape lighting voltage drop dangerous?
No, not in the way 120V house wiring is. A key benefit of 12V systems is their safety. The risk here isn’t fire or shock; it’s performance and longevity. Running a 12V LED on 9V of power can make it look dim, flicker, or even shorten its lifespan. It’s a quality and reliability problem, not a safety one.
Do smart, color-changing lights still have voltage drop?
Yes, all 12V systems are subject to the same laws of physics. The great news is that smart LEDs, like the fixtures compatible with the Tru-Scapes Color Control App, are incredibly efficient. Their low-wattage draw means you can often put more fixtures on a line without experiencing the voltage drop you would with older, less advanced lights.
Conclusion: Don’t Let Dim Lights Dull Your Design
Don’t let landscape lighting voltage drop ruin your perfect outdoor oasis. It’s a frustrating but completely solvable problem. By remembering the “garden hose” analogy, you can avoid the common pitfalls.
The secret to a bright, professional-looking system is a combination of smart design and quality components.
- Use Thicker Wire (12-gauge for main lines).
- Use Smarter Layouts (Hub or Center-Feed, not a daisy chain).
- Use a Multi-Tap Transformer (to fine-tune the voltage).
- Use Efficient Fixtures (like modern LEDs).
A successful lighting system is an investment in your home’s beauty and safety. At Tru-Scapes, we provide the professional-grade lights, durable transformers, and accessories built to last. This guide gives you the design knowledge to make them all shine brightly.
Did these tips help you solve your dimming issues? Do you have another voltage drop question we didn’t cover? Leave a comment below! We’d love to help you get your project glowing.