Introduction
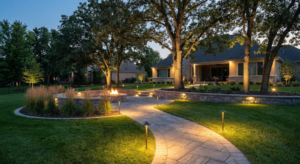
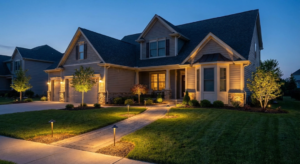
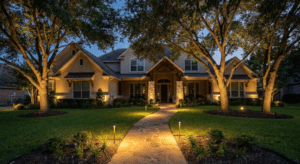
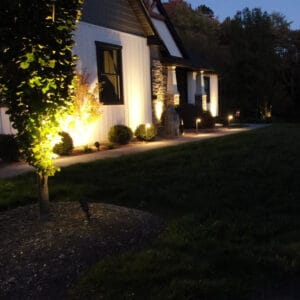
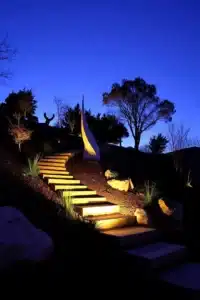
Imagine turning your garden into a magical oasis every evening. Picture soft, golden lights highlighting your favorite trees, shrubs, and walkways, adding a touch of warmth and elegance to your property. This is exactly what low voltage landscape lighting can do for you. But before you jump in and start illuminating your yard, there are some key things you need to know. Let’s take a deep dive into everything that makes low voltage lighting a fantastic choice and explore how to get started.
Why Choose Low Voltage Landscape Lighting?
When it comes to illuminating your outdoor spaces, there are plenty of options available, but low voltage landscape lighting is a standout choice for several reasons:
- Safety First: Because low voltage systems typically run on 12 volts, they are significantly safer to work with compared to high-voltage systems, which run at 120 volts. This lower voltage means there’s far less risk of electrical shock, making it safe for DIY enthusiasts.
- Energy Efficiency: Low voltage lighting uses significantly less energy, especially when paired with LED lights. This makes them both environmentally friendly and easy on your wallet.
- Aesthetic Appeal: The warm, subtle glow from low voltage lighting creates a calming ambiance without overpowering the natural beauty of your garden. It’s all about highlighting, not overwhelming.
- Flexibility and Control: You can easily add or adjust the placement of lights without rewiring your entire setup, offering flexibility in designing your outdoor environment.
Key Takeaway
Low voltage landscape lighting offers enhanced safety, energy savings, beautiful aesthetics, and flexibility. It’s the perfect choice for those looking to create a stunning yet practical outdoor space.

Components of a Low Voltage Lighting System
Before you get started, it’s helpful to understand the basic components that make up a low voltage lighting system. Here are the key parts you’ll need:
- Transformer: Converts your household’s 120-volt power down to 12 volts. It serves as the brain of your system and usually comes with timers or light sensors.
- Wiring/Cables: Special outdoor-rated cables connect the transformer to your lights. Typically, a 12-gauge cable is used for most garden applications.
- Fixtures: These are the actual light sources. Fixtures can range from path lights to spotlights, each serving a unique purpose for highlighting different areas of your landscape.
- Connectors: Join the cables to the lights and help to maintain proper current flow.
Component | Purpose |
Transformer | Converts 120V to 12V |
Wiring/Cables | Connects lights to the transformer |
Fixtures | The actual light units (e.g., path, spotlights) |
Connectors | Links the wiring to the fixtures |
Key Takeaway
A low voltage lighting system consists of four key components: transformer, cables, fixtures, and connectors. Understanding these will help make the installation process smoother.
Planning Your Landscape Lighting
When planning your lighting, the key is to think strategically about which areas of your yard you want to highlight. Start by deciding on the mood you want to set—romantic, welcoming, or perhaps dramatic. Consider these common areas that benefit from lighting:
- Walkways and Driveways: Pathway lights not only look stunning but also improve safety by clearly marking the way.
- Entryways: Highlighting the main entrance to your home creates a warm and inviting feel.
- Garden Features: Consider using spotlights or well lights for focal points such as trees, water fountains, or garden sculptures.
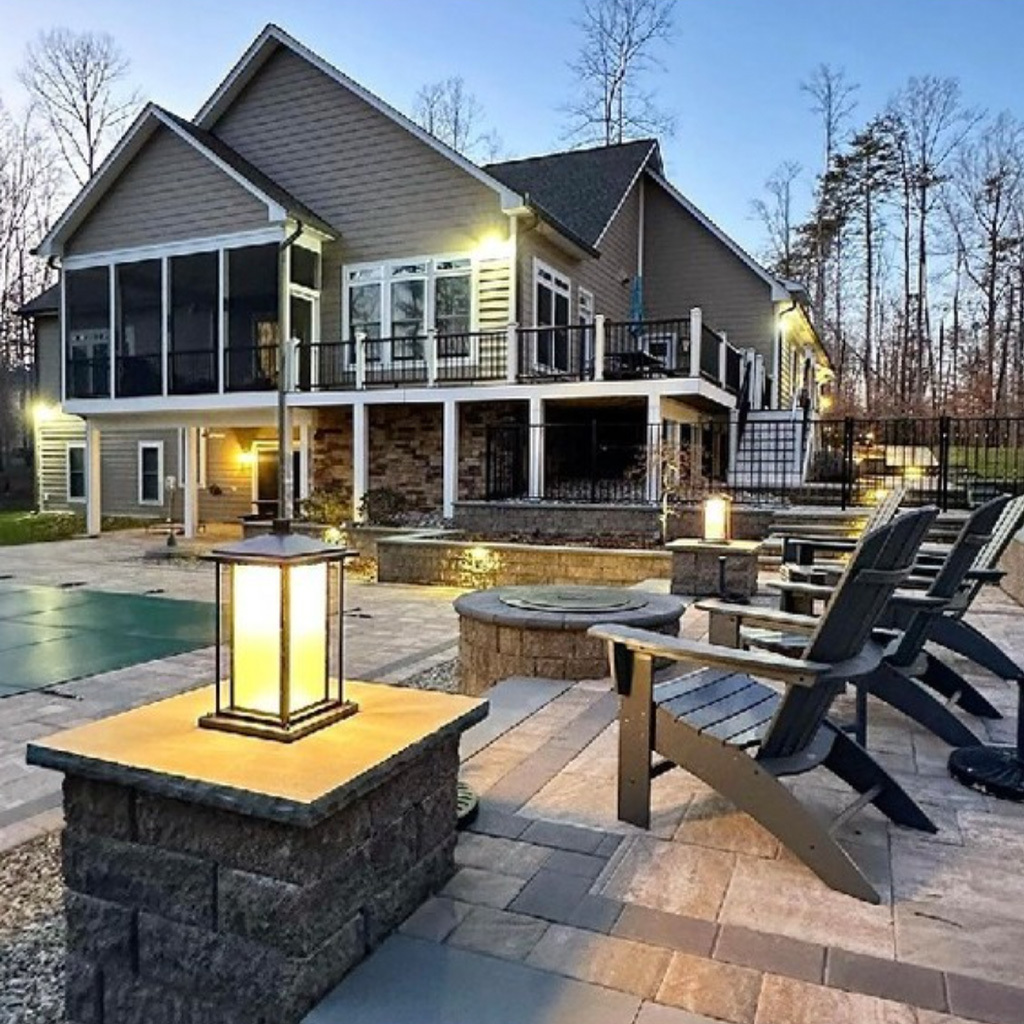
- Decks and Patios: Adding lighting to outdoor living spaces can extend their use well into the evening and provide extra comfort for your guests.
Use the 3-Lighting Layer Approach:
- Ambient Lighting: Provides general illumination, often through path lights.
Ambient lighting is the base layer that adds soft overall light, ensuring visibility throughout your yard. - Accent Lighting: Used to focus on features like trees or statues with spotlights or floodlights.
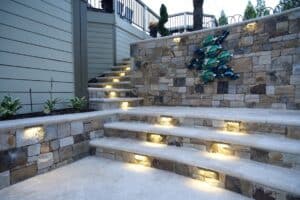
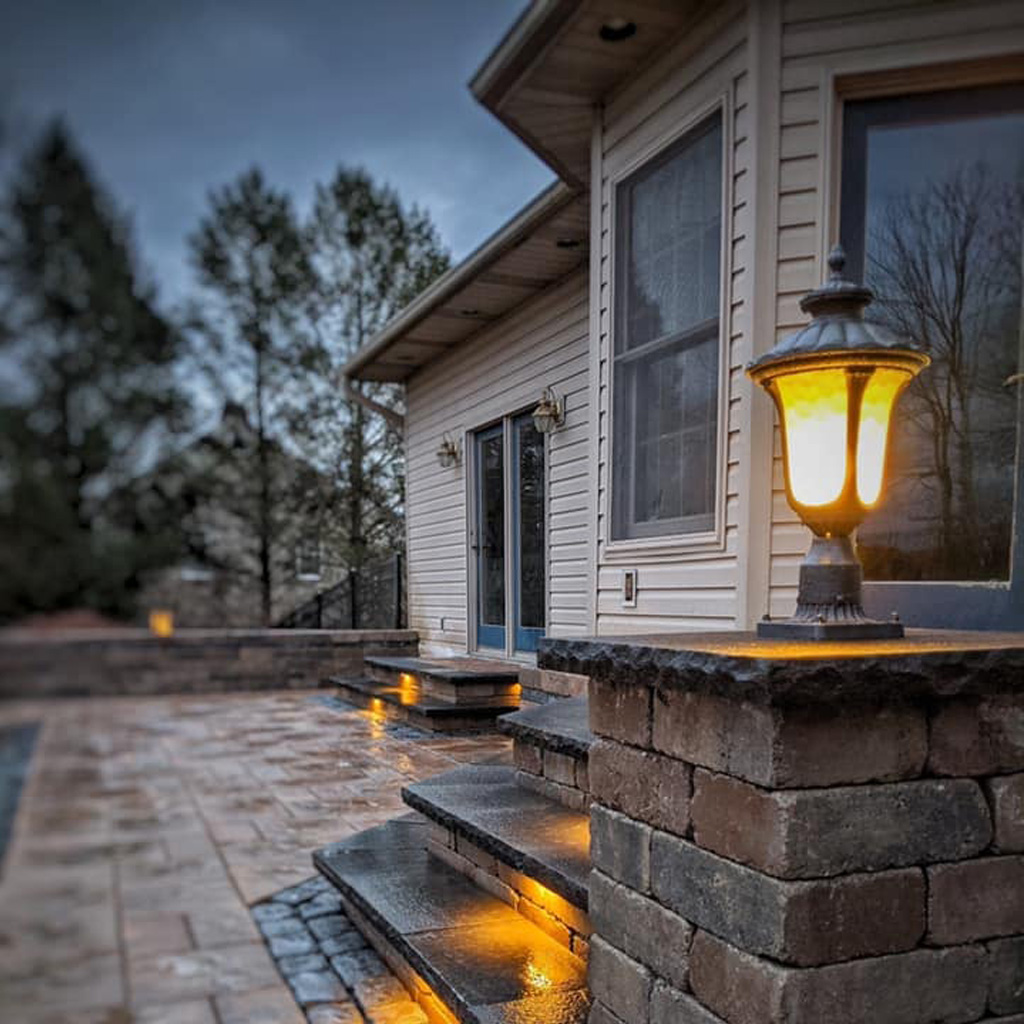
Accent lighting adds character by highlighting particular areas of interest. - Task Lighting: Serves a specific function, like lighting stairs for safety.
Task lighting is practical and focuses on enhancing safety and usability for outdoor areas.
Key Takeaway
Strategically plan your landscape lighting by focusing on different areas like walkways, garden features, and outdoor living spaces. Use ambient, accent, and task lighting for a well-rounded approach.
Steps to Install Low Voltage Landscape Lighting
- Design Your Layout
Start by sketching your yard. Mark out where you want to place each fixture. This is where you can also decide on the types of fixtures you need—path lights, spotlights, etc. - Choose Your Transformer
Ensure the transformer is powerful enough to handle the wattage of all the lights you plan to install. As a rule of thumb, add up the wattage of all the fixtures and select a transformer that can handle slightly more power than your calculated total. - Run the Wiring
Lay out the cables across the ground along your planned lighting path. Try to keep cables out of high-traffic areas to avoid wear and tear. - Connect the Lights
Attach each fixture to the cable using waterproof connectors. Most low voltage lighting kits come with clamp-style connectors that make this process easy. - Test the System
Plug in the transformer and turn it on. Make sure each light is working properly. If something is not lighting up, double-check the connections.
6. Bury the Cables
After verifying everything works, bury the cables. Keep them about 3-6 inches below the ground to protect them from damage while still being accessible if adjustments are needed.
Key Takeaway
Carefully follow each step for successful installation: from designing your layout to burying the cables, ensuring that your lighting system functions properly.
Frequently Asked Questions
Q: How much will a low voltage lighting system increase my electricity bill?
A: Typically, low voltage landscape lighting systems are very energy efficient, especially if you use LED bulbs. An average 10-light setup using LED bulbs might cost less than $5 per month to run.
Q: Can I install low voltage lighting myself?
A: Yes, absolutely! Low voltage landscape lighting is a popular DIY project. It is safe, simple, and requires very few specialized tools.
Q: What type of bulbs should I use?
A: LED bulbs are the best choice for low voltage landscape lighting. They are energy efficient, long-lasting, and available in a variety of colors and brightness levels to match the mood you are trying to create.
Q: How do I maintain my landscape lighting?
A: Maintenance is straightforward—occasionally clean the lenses, check connections, and replace any burned-out bulbs. LED bulbs have a long lifespan, which means fewer replacements over time.
Tips for Choosing Fixtures
- Material: Look for fixtures made of high-quality materials like brass or stainless steel for longevity. Plastic fixtures are cheaper, but they may not withstand harsh weather.
[Consider adding an anecdote here about a successful DIY lighting project, which uses stainless steel fixtures to withstand winter conditions.] - Light Temperature: Choose warm white lights (2700K-3000K) for a cozy, natural look. Avoid cool white lights unless you’re aiming for a very modern or industrial feel.
- Adjustability: Choose fixtures that allow for adjusting angles. This provides flexibility in how you direct light onto focal points.
Key Takeaway
Choose durable materials, appropriate light temperatures, and adjustable fixtures to get the best results from your lighting system.
Benefits of Low Voltage LED Lights
- Longevity: LEDs have an average lifespan of 25,000 to 50,000 hours. That means far fewer replacements.
- Energy Efficiency: LEDs use approximately 75% less energy compared to incandescent lights.
- Color Range: You can choose from various color temperatures and even RGB options for fun, dynamic lighting designs.
Key Takeaway
Low voltage LED lights are efficient, long-lasting, and versatile, making them an ideal choice for outdoor lighting.
Common Mistakes to Avoid
- Over-lighting: It’s easy to go overboard. Less is more when it comes to landscape lighting.
- Ignoring Beam Spread: Different lights have different spreads—ensure you’re using the appropriate spread for your intended area.
Not Testing Before Burying Cables: Always test the system before permanently placing anything. This saves you the hassle of digging everything up again.
Key Takeaway
Avoid over-lighting, understand beam spreads, and always test before final installation to ensure the best results.
Conclusion
Low voltage landscape lighting is an effective way to enhance your home’s curb appeal, improve safety, and create a beautiful outdoor ambiance.
By following these guidelines, you can design and install a lighting system that will make your outdoor spaces shine beautifully every evening. So why wait? Start planning today and turn your yard into a glowing masterpiece.
For more tips on home improvements and outdoor decorating ideas, make sure to check out our other posts. Ready to take your landscape lighting to the next level? Share your plans in the comments, or reach out if you need professional guidance. Your dream yard is just a few lights away!

