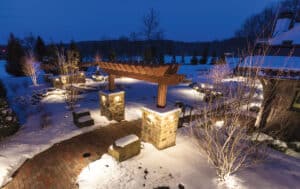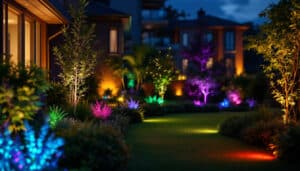
Key Takeaways
- DIY low-voltage kits suit small yards, short wire runs, and hands-on homeowners.
- Professional landscape lighting installation adds design skill, proper wiring, and warranty coverage.
- Any 120-volt line-voltage work should go to a licensed electrician, not a weekend project.
- Heavy fixtures, such as concrete patio lights, often need pro-level footing and placement.
- Fixture count, material quality, and site conditions drive cost more than anything else.
- Always call 811 before digging, no matter who handles the install.
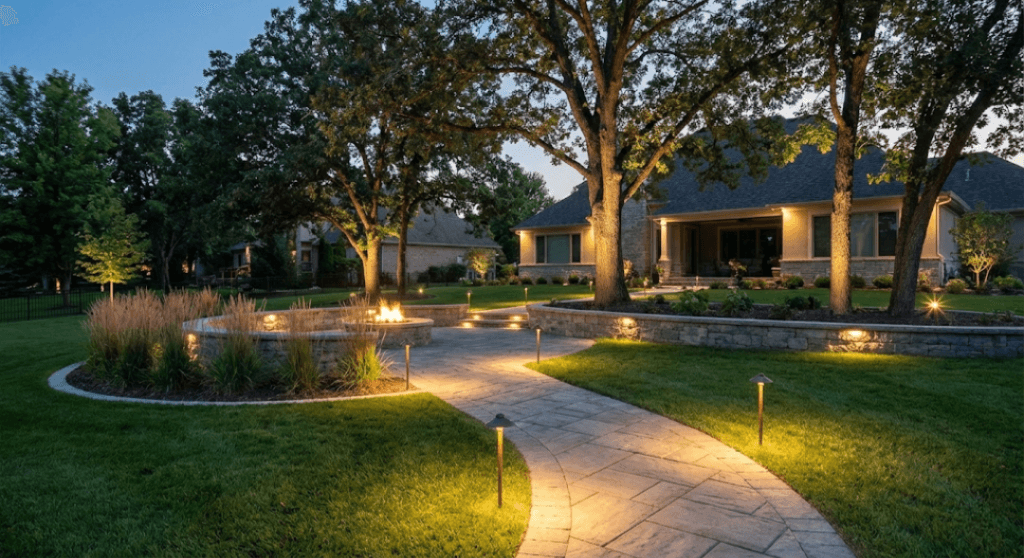
Outdoor lighting changes how a home looks, feels, and functions after dark. It also raises a question most homeowners hit early: should you pay for professional landscape lighting installation, or buy a kit and do it yourself over a weekend?
Both paths can work. The right one depends on your yard, your budget, your comfort with wiring, and how long you want the system to last.
This guide covers the real pros and cons, the cost drivers behind each option, and a simple step-by-step way to decide. You will also find fixture tips, including where heavier styles like modern concrete garden lights fit in.
What Each Option Actually Involves
The DIY Route
Most do-it-yourself yard lighting uses a low-voltage landscape lighting system. A transformer plugs into an outdoor GFCI outlet and steps household power down to around 12 volts. From there, cable runs to each fixture through shallow trenches.
Solar stake lights are the other common DIY choice. They need no wiring at all, though brightness and reliability tend to fall short of a wired setup.
The Professional Route
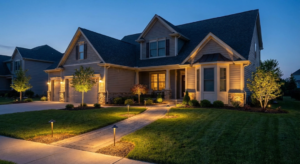
A professionally designed lighting system starts with design, not digging. The installer walks the property at dusk, picks focal points, and plans beam spreads, fixture types, and wire runs before anything goes in the ground.
Then comes the technical work: sizing the transformer, managing voltage drop, making waterproof connections, and burying cable at the proper depth. Many lighting contractors also include a warranty and offer an annual maintenance plan.
Professional Landscape Lighting Installation vs. DIY: Side-by-Side Comparison
| Factor | DIY | Professional |
|---|---|---|
| Upfront cost | Lower. You pay for materials and tools only. | Higher. Covers design, labor, and contractor-grade materials. |
| Design quality | Depends on your eye and patience | Planned layout using layered lighting techniques |
| Fixture quality | Often plastic or thin aluminum in big-box kits | Usually brass, copper, or other long-life materials |
| Electrical safety | Fine for plug-in low voltage, risky beyond that | Code-aware work, with licensed help for line voltage |
| Time required | One or more of your weekends | Often one to a few days on site |
| Warranty | Manufacturer parts only | Often covers parts and labor |
| Maintenance | You handle it | Service plans commonly available |
| Best for | Small yards, simple paths, tight budgets | Larger properties, complex designs, long-term value |
Pros and Cons of DIY Landscape Lighting
Pros
- Lower upfront cost, since you skip labor charges
- Full control over schedule and layout
- Easy to start small and expand later
- A satisfying project for hands-on homeowners
Cons
- Voltage drop issues leave the farthest fixtures dim
- Kit-grade fixtures can corrode, fade, or crack within a few seasons
- Poor wire connections are a common cause of system failure
- No labor warranty if something stops working
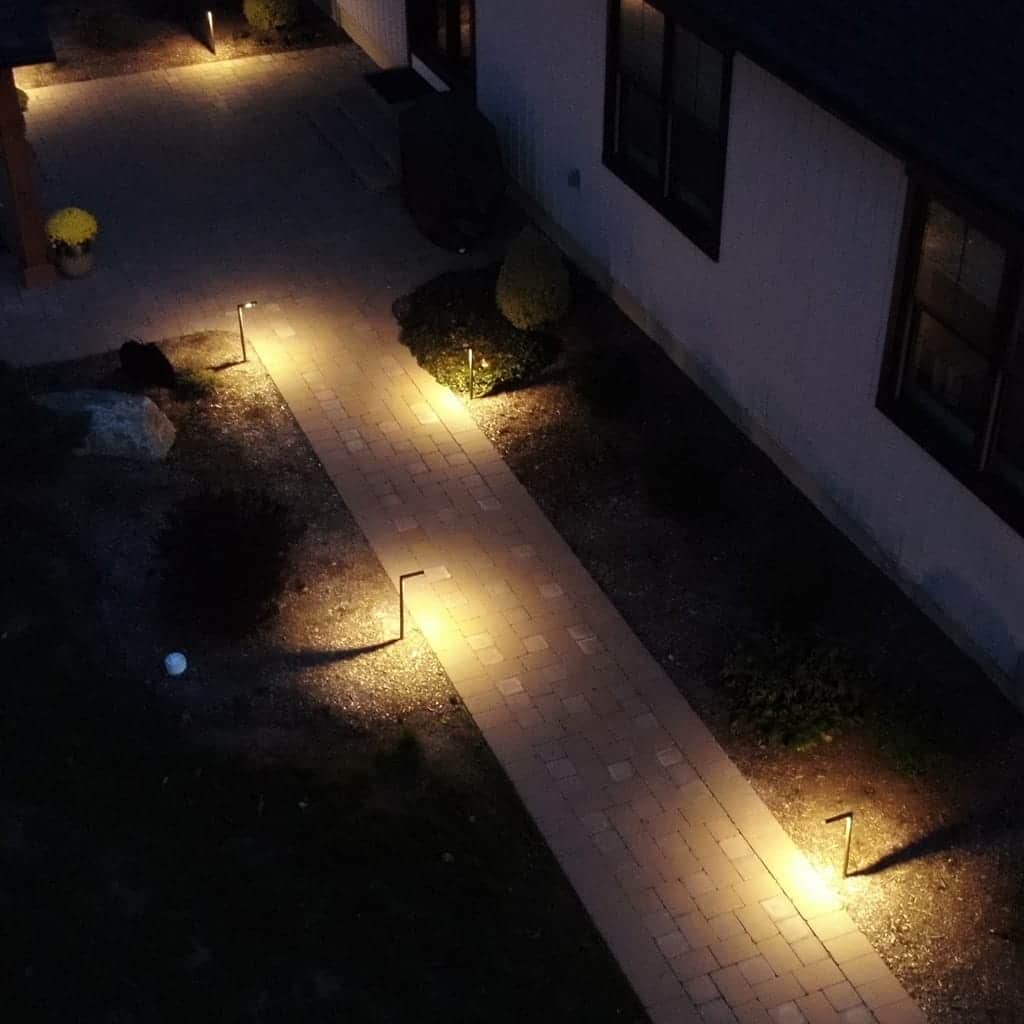
- Results often look flat, like a runway of evenly spaced path lights
Pros and Cons of Hiring a Professional
Pros
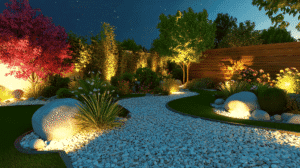
- Design expertise, including uplighting, downlighting, grazing, and shadowing
- Correct transformer sizing and wire gauge for the full system
- Durable fixtures built for years of weather exposure
- Warranty coverage on both parts and workmanship
- Your weekends stay free
- Easier expansion later, because the system was planned with spare capacity
Cons
- Higher upfront investment
- Scheduling lead times during busy seasons
- Quality varies between contractors, so vetting matters
What Drives the Cost
Pricing varies widely by region and project, so treat any single number you see online with caution. In general, DIY kits sit at the low end, often a few hundred dollars. Professionally installed systems commonly run into the thousands. The gap comes from a handful of predictable factors.
- Fixture count. More lights mean more cable, more connections, and a larger transformer.
- Fixture material. Brass and copper cost more than aluminum or plastic. Concrete patio lighting also sit toward the higher end because of weight, shipping, and handling.
- Transformer and controls. Smart timers, zoning, and app control add cost but also convenience.
- Site conditions. Rocky soil, mature tree roots, long runs, and crossings under walkways all add labor.
- Line-voltage needs. Any 120-volt work brings in a licensed electrician and usually a permit.
Operating cost matters too. The U.S. Department of Energy notes the energy efficiency benefits of LED technology, which uses far less energy and lasts much longer than incandescent bulbs. That is why nearly every modern system, DIY or pro, is LED.
The smarter comparison is lifetime cost. If a budget kit needs replacing every few years, it can end up costing more than one quality system installed once.
Fixture Choices Matter More Than Most People Think
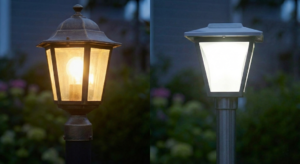
Fixture material affects both how long a system lasts and how hard it is to install. Brass and copper age well and resist corrosion. Powder-coated aluminum is lighter and cheaper but can chip and pit over time. Plastic is the least durable.
Cement outdoor lighting has become popular in modern and minimalist landscapes. Concrete bollards and low patio lights bring a clean, architectural look, and their weight keeps them stable in wind and hard to knock over.
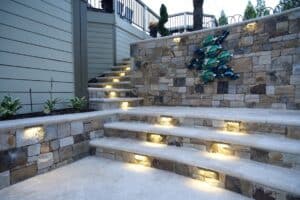
That same weight changes the install. Concrete patio lights often need a level, compacted base or a poured footing, and the wiring usually has to be routed through the body before the piece is set. If you are browsing outdoor concrete lamp ideas for a patio or entry walk, plan on two people at minimum.
Here is how that plays out in practice:
- If you need to light a short walkway and a few shrubs, choose a quality low-voltage kit and do it yourself.
- If your plan includes 120-volt fixtures, lights set into hardscape, or long runs across a large property, choose a licensed professional.
- If you want heavy statement pieces like modern concrete garden lights, choose a pro install, or at least get professional help with the footings.
How to Decide in 7 Smart Steps
- Walk your yard after dark. Note dark spots, trip hazards, and the features worth highlighting.
- Count fixtures and measure distances. Get a rough fixture count and the length of your longest run from the power source.
- Check your power source. You need an outdoor GFCI outlet near the transformer location. If you don’t have one, call an electrician first.
- Set a realistic budget. Include fixtures, transformer, cable, connectors, and tools, not just the kit price.
- Be honest about your skills and time. The work involves trenching, waterproof splices, and testing voltage with a multimeter.
- Get at least two professional quotes, even if you lean DIY. Quotes often reveal design ideas you hadn’t considered, and they give you a real number to compare against. Ask about fixture materials, warranty terms, and service plans.
- Compare lifetime cost, not day-one cost. Factor in replacements, repairs, and the value of your own time.
Do’s and Don’ts of Landscape Lighting
Do
- Call 811 before digging so buried utilities can be marked
- Use LED fixtures in warm color temperatures, around 2700K to 3000K
- Size the transformer with headroom for future fixtures
- Use direct-burial waterproof connectors rated for direct burial
- Aim lights downward or shield them to cut glare, as DarkSky International recommends
Don’t
- Attempt 120-volt wiring without a license and a permit
- Load a transformer to its full rated capacity
- Line both sides of a path with evenly spaced lights
- Leave cable sitting under mulch, where edgers and shovels will find it
- Mix random fixture brands and color temperatures in the same view
Safety and Code Basics
The National Electrical Code (NEC) standards, published by the National Fire Protection Association, covers low-voltage lighting systems and sets minimum burial depths for cable. Local codes can add their own rules, so check with your building department before you start.
Low voltage is far more forgiving than line voltage. Still, the transformer connects to household power, which is why GFCI protection matters. Anything beyond a plug-in system belongs with a licensed electrician.
When vetting an outdoor lighting installer, ask about training and credentials. The Association of Outdoor Lighting Professionals offers industry education and certification programs. Membership is one sign a contractor takes the craft seriously.
A Real-World Scenario
A suburban Pennsylvania couple, Mark and Dana. They bought a ten-light kit from a big-box store to light their front walk and two maple trees. The install took one Saturday, and it looked fine that first summer.
By the second spring, three fixtures had failed. The lights farthest from the transformer were visibly dimmer, and several stakes leaned after winter frost heave. They hired a local lighting contractor, who kept the outlet and replaced everything else.
The contractor installed brass fixtures, split the load across two wire runs, and added soft downlighting from the maples. The total cost was higher than the kit, but the couple had effectively paid for lighting twice.
Meanwhile, their neighbor lit a 20-foot path with six good-quality DIY fixtures and has had no problems. The takeaway is that scale and complexity, not skill alone, decide which route makes sense.
Quick Answers:
Is professional landscape lighting installation worth the cost?
A: For larger or more complex properties, usually yes. You pay more upfront but get better design, durable fixtures, and warranty-backed work that tends to need fewer repairs. See how quality lighting delivers long-term value and ROI.
Can I install low-voltage landscape lighting myself?
A: Yes. Plug-in low-voltage systems are designed for homeowner installation, as long as you follow the manufacturer’s instructions and local code.
Do I need a permit for landscape lighting?
A: Plug-in low-voltage systems often don’t require one, but rules vary by city and county. Line-voltage work typically does, so check with your local building department.
How long does a professional installation take?
A: Many residential projects finish in one to a few days. Fixture count and site conditions are the main variables.
What is the difference between low voltage and line voltage?
A: Low-voltage systems run at around 12 volts through a transformer. Line voltage runs at standard 120-volt household power and requires licensed electrical work.
Are concrete light fixtures good for outdoor use?
A: Yes. Quality concrete fixtures handle weather well and stay put thanks to their weight. They do need a solid, level base, and sealing can help resist staining and freeze-thaw wear.
How deep should low-voltage cable be buried?
A: The National Electrical Code sets minimum depths, and many installers bury low-voltage cable at least 6 inches deep. Confirm the requirement with your local code office.
Do LED landscape lights really save money?
A: Yes. The U.S. Department of Energy reports that LEDs use far less energy and last much longer than incandescent bulbs, which lowers both power and replacement costs.
Glossary of Terms
- Low-voltage lighting: An outdoor lighting system that runs at around 12 volts instead of standard household power. It is safer to handle and common in residential yards.
- Transformer: The device that converts 120-volt household power down to low voltage. It is the power hub for the whole system.
- Voltage drop: The loss of electrical pressure as power travels along a wire. It causes fixtures at the end of long runs to look dimmer.
- GFCI: A ground-fault circuit interrupter, an outlet or breaker that cuts power quickly when it detects a fault. It is required for outdoor receptacles.
Conclusion
DIY lighting makes sense when the project is small, the runs are short, and you enjoy the work. It keeps upfront costs low and lets you build in stages.
Professional landscape lighting installation makes sense when the property is larger, the design matters, or the fixtures are heavy, hardwired, or built into hardscape. You get a planned design, a correctly sized system, quality materials, and a warranty to back it up.
Walk your yard tonight, run through the seven steps, and get real numbers on both options. When you are ready to see what a professionally designed system would look like at your home, request a custom lighting consultation and a clear, itemized quote.