Introduction
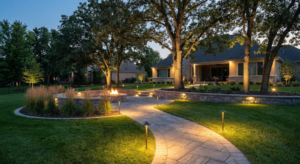
When the sun sets, your outdoor space shouldn’t fade into darkness. Instead, it can transform into a welcoming haven with low voltage landscape lighting. Whether you’re looking to boost curb appeal, enhance safety, or simply enjoy evenings outdoors, installing low voltage lights is an achievable and rewarding project. This step-by-step guide will walk you through the process, so you can illuminate your landscape like a pro.
Why Choose Low Voltage Landscape Lighting
Low voltage landscape lighting operates on 12 volts compared to the standard 120 volts of household current. This makes it safer, energy-efficient, and easier to install. Here’s why homeowners love it:
- Energy-Efficient: Uses significantly less power.
- Safe to Install: No risk of electric shock due to lower voltage.
- DIY-Friendly: No electrician required in most cases.
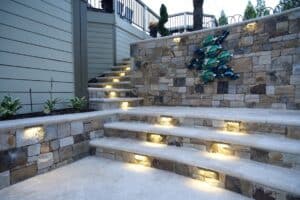
Whether it’s accentuating your garden path, spotlighting trees, or creating ambiance on your deck, low voltage lighting is a versatile choice that complements any landscape. To dive deeper into its benefits, check out our low voltage deck lighting overview.

Materials You’ll Need
Before you start, gather these essential items:
- Low voltage transformer (sized for your lighting load) – for instructions on modern options, refer to our WiFi transformer guide.
- Low voltage outdoor lights (path lights, spotlights, etc.). For inspiration, explore our in-ground lighting solutions.
- Low voltage cable (commonly 12/2 gauge).
- Cable connectors.
- Wire strippers.
- Screwdriver.
- Timer or photocell (optional).
Step 1: Plan Your Lighting Layout
A successful lighting installation begins with a solid plan:
- Sketch Your Landscape: Draw a simple map of your yard, marking areas you want to illuminate.
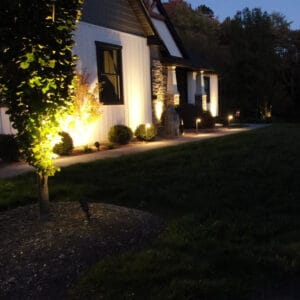
- Choose Light Placement: Identify spots for path lights, uplights for trees, or accent lights for hardscapes.
- Calculate Total Wattage: Add up the wattage of all your fixtures to ensure your transformer can handle the load.
For additional ideas and design guidance, check out our ultimate guide to landscape lighting.
Example: If you want to highlight a garden path with five path lights and accent a tree with a spotlight, sketch their placements to visualize the overall effect.
Tip: Soft, subtle lighting creates a more dramatic effect compared to harsh brightness.
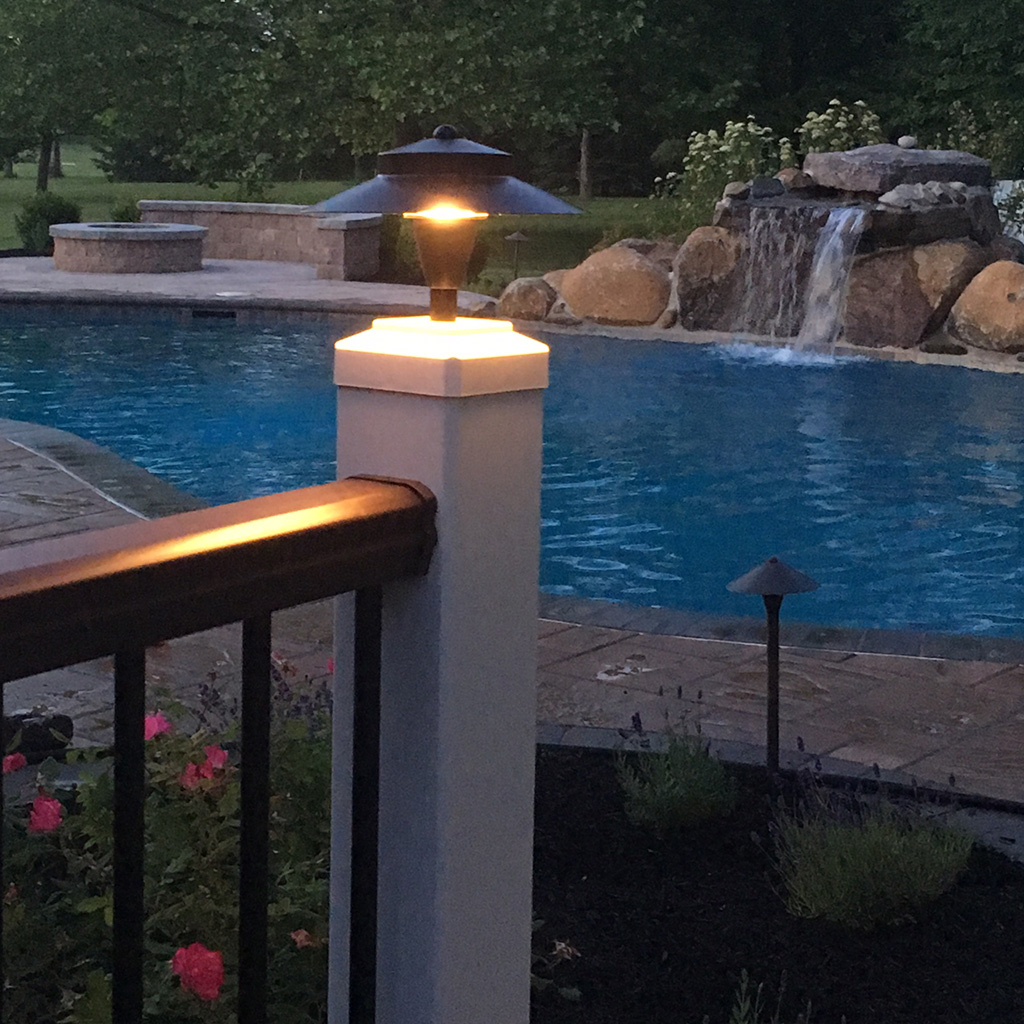
Step 2: Select the Right Transformer
The transformer powers your low voltage lighting system. Here’s how to choose the right one:
- Calculate Total Wattage: Add the wattage of all your lights.
- Add a Buffer: Choose a transformer with 20-30% higher capacity to account for future additions.
Example: If your lights total 150 watts, select a 200-watt transformer for flexibility.
For safety tips, refer to the Electrical Safety Foundation International resource.
Step 3: Install the Transformer
- Mount the Transformer: Attach the transformer to an exterior wall near a GFCI (ground-fault circuit interrupter) outlet.
- Connect the Transformer: Plug the transformer into the outlet. Ensure the connection is secure and weather-protected.
- Set the Timer: If your transformer includes a timer or photocell, set it according to your preference for automatic operation.
Reassurance Tip: If this step feels intimidating, remember that transformers come with clear instructions—simply follow the manual step-by-step.
Step 4: Lay the Low Voltage Cable
- Unroll the Cable: Run the low voltage cable along the planned lighting route. Leave a bit of slack to allow for adjustments.
- Bury the Cable (Optional): For a cleaner look, bury the cable 2-3 inches deep along garden beds or hardscapes.
Tip: Use cable staples or U-shaped stakes to keep the cable in place. For bends around corners, avoid sharp turns to prevent cable damage.
Step 5: Connect the Lights
- Attach the Connector: Use the provided connectors to attach the lights to the low voltage cable. Some connectors clamp onto the cable, making the process quick and tool-free.
- Test the Connection: Turn on the transformer to ensure each light powers up before moving to the next.
- Adjust Light Angles: Position each fixture for the desired effect.
Example: When placing spotlights, angle them slightly upward to highlight trees or architectural features without causing glare. For detailed steps, refer to our easy installation tips.

Step 6: Secure and Finalize
- Bury Any Exposed Cable: Cover any exposed wiring with mulch, dirt, or landscape edging.
- Check Light Placement: Walk through your landscape at night to confirm the placement and adjust as needed.
- Seal Connections: Ensure all connections are tight and weatherproof to prevent water damage.
Reassurance Tip: If a light doesn’t turn on, double-check the cable connections—loose connectors are the most common issue.
FAQs About Low Voltage Landscape Lighting
Q: Can I extend my lighting system later?
A: Yes! As long as your transformer has enough capacity, you can easily add more lights by tapping into the existing cable.
Q: How do I maintain my low voltage lighting?
A: Regularly clean your fixtures, check for damaged wires, and replace bulbs as needed. See more in our landscape lighting maintenance guide.
Q: What is the average lifespan of LED landscape lights?
A: High-quality LED lights can last 10-15 years with minimal maintenance.
Pro Tips for a Professional Look
- Layer Your Lighting: Combine path lights, spotlights, and deck lights for a dynamic look. For creative ideas, check out top LED landscape lighting ideas.
- Use Warm Light: Opt for 2700K to 3000K bulbs for a cozy, inviting glow.
- Avoid Glare: Position lights to avoid direct visibility and reduce harsh glare.
Conclusion
Installing low voltage landscape lighting is a straightforward project that can dramatically enhance your outdoor space’s beauty and functionality. By following this step-by-step guide, you can create a well-lit landscape that’s safe, energy-efficient, and perfect for evening gatherings.
For additional guidance on energy-efficient lighting, visit the U.S. Department of Energy’s outdoor lighting tips. Ready to transform your yard? Explore our landscape lighting solutions for everything you need to get started. Whether you’re lighting a winding path or accentuating your garden, we’ve got you covered. Let your outdoor space shine—literally!

