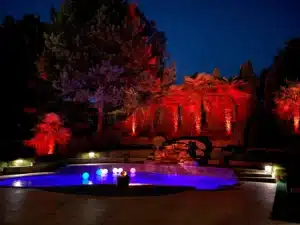
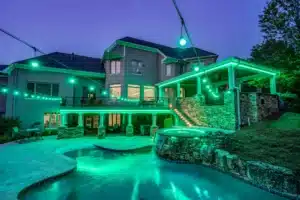
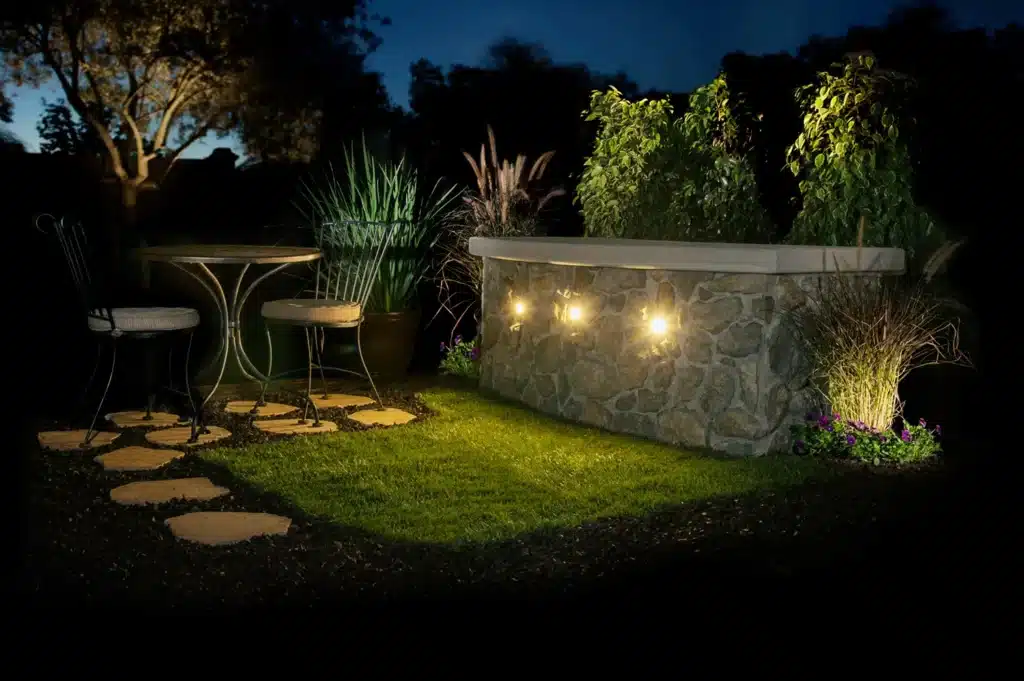
A beautiful landscape lighting system doesn’t stay that way on its own. Without routine upkeep, even a well-designed system will start dropping fixtures, dimming unevenly, or running at the wrong times within a season or two. That’s where a structured landscape lighting maintenance checklist makes all the difference — giving homeowners and contractors a reliable framework to inspect, clean, adjust, and replace components before performance degrades.
Tru-Scapes has built its product line around the realities of outdoor environments: temperature swings, moisture, soil movement, and UV exposure. Whether you’re servicing a system you installed yourself or maintaining a professionally designed installation, understanding what to check — and when — is the foundation of long-term outdoor lighting performance.
Key Takeaways
- A seasonal landscape lighting maintenance checklist prevents premature fixture failure and keeps your system running efficiently all year.
- Clean lenses and adjust fixture aim every spring after winter displacement from frost heave or snowplows.
- Replacing failing halogens with Tru-Scapes® G4 LED Lamps dramatically reduces the frequency of bulb swaps and maintenance calls.
- Transformer settings should be reviewed at least twice a year — spring and fall — to account for daylight saving time and seasonal daylight shifts.
- Gel-filled wire connections resist moisture intrusion far better than standard wire nuts, reducing corrosion-related outages over time.
Why Seasonal Maintenance Matters for Outdoor Lighting
Outdoor lighting systems operate in one of the harshest environments a product can face. Fixtures go through freeze-thaw cycles, fixtures get knocked by lawnmowers, transformers get exposed to summer heat and winter cold, and wiring sits in soil that contracts, expands, and shifts over the course of a year.
The Illuminating Engineering Society (IES) and the National Electrical Contractors Association (NECA) both note that preventive maintenance intervals for low-voltage outdoor lighting systems should be tied to seasonal transitions rather than a fixed calendar schedule. That’s because the stressors change with the season, and so should your inspection priorities.
Skipping maintenance doesn’t just affect aesthetics. A single corroded wire connection can take down an entire zone. A transformer running on the wrong schedule wastes energy and shortens lamp life. A fixture that’s shifted out of aim after frost heave changes the whole feel of a front walkway. Catching these issues on a scheduled basis keeps the system performing the way it was designed.
The Complete Seasonal Landscape Lighting Maintenance Checklist
Spring: Reset, Repair, and Reposition
Spring is your most important maintenance window. Winter abuse — frost heave, snow load, ice accumulation, and debris from storms — leaves most systems with at least a few problems to address.
Step-by-step spring checklist:
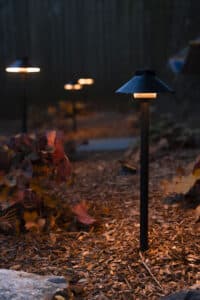
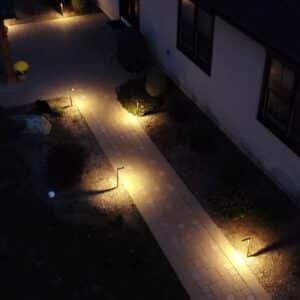
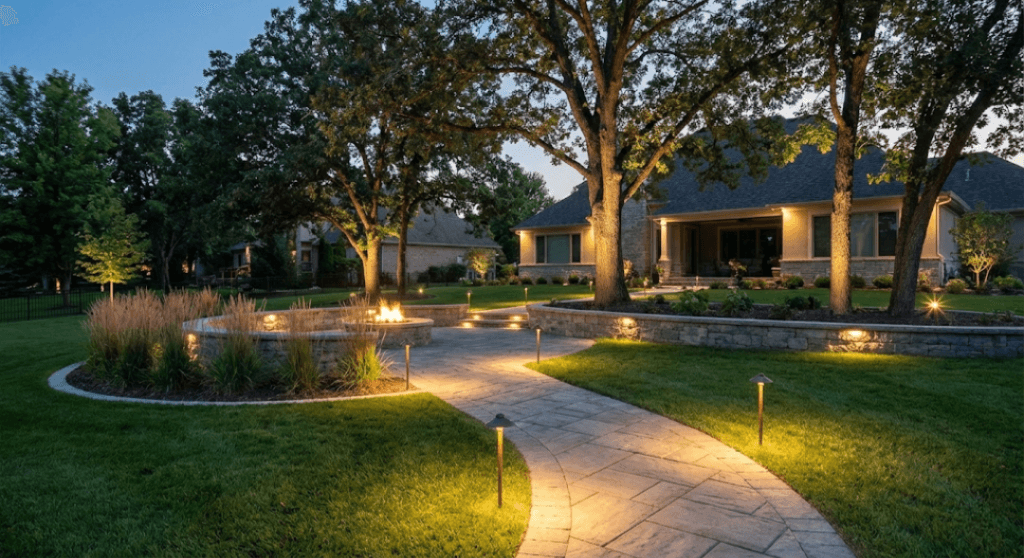
- Walk the entire system at dusk with the lights on. Note any fixtures that are dark, dim, or aimed incorrectly.
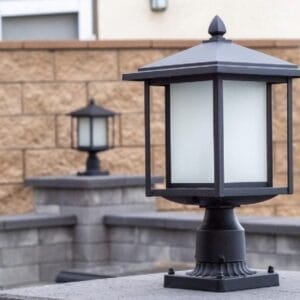
- Inspect every fixture housing for cracks, moisture intrusion, or soil displacement. Frost heave is a common culprit in northern climates — fixtures that were plumb in October may be tilted by March.
- Clean all lenses and fixture faces. Dirt, algae, and oxidation accumulate over winter and reduce output significantly. A damp microfiber cloth is usually sufficient for polished metal lenses.
- Check all wire connections at each fixture. Pull back mulch or soil to expose the splice and look for corrosion or exposed conductors. If you find green or black oxidation at a splice, cut it back and reconnect using Gel-Filled Wire Nuts, which seal the connection against future moisture intrusion.
- Replace any failed lamps. Spring is the right time to swap out any halogen MR16s that have burned out over the winter. If you’re still running halogens, this is an excellent opportunity to upgrade to the Tru-Scapes® 5.5W MR16, which delivers the same beam spread and color quality at a fraction of the power draw.
- Adjust transformer schedule. Spring forward means your photocell or timer settings may now be triggering the system too early or running it longer than needed. Review and update accordingly.
- Test the photocell. If your system uses a photocell to trigger automatically at dusk, cover it briefly to confirm it activates the transformer. If it doesn’t respond, replacement is straightforward with the Tru-Scapes® 15′ Photocell.
Summer: Performance Monitoring and Heat Management
Summer is when your system runs the longest days — and for many regions, the hottest ones. Heat is the primary enemy of transformer components and lamp lifespan. According to the U.S. Department of Energy, proper thermal management is critical for maintaining LED efficiency and longevity.
Step-by-step summer checklist:
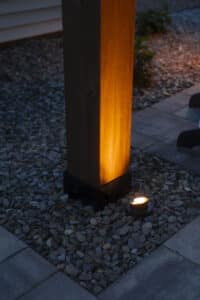
- Check transformer ventilation. Ensure nothing has been stacked against or near the transformer housing. Mulch piled up by spring landscaping is a common culprit.
- Inspect for overgrowth. Shrubs and perennials that were dormant in spring may now be blocking path lights or downlights. Redirect or reposition fixtures as plantings fill in.
- Verify voltage at fixture level. If you have a multimeter, spot-check voltage at the furthest fixture on each zone. Voltage drop that was acceptable in spring can become problematic when wire resistance increases slightly in summer heat.
- Look for pest damage. Rodents and insects can damage wiring insulation. Look for chewed cable runs near ground level or at the base of posts.
- Test any zone that seems dim. LED fixtures that have been running for several seasons may begin to show lumen depreciation. The Tru-Scapes® G4 LED Lamp is rated for long service life, but spot-checking individual fixture output ensures your system is still performing at design intent.
Fall: Prep for Cold Weather
Fall maintenance is about preparing the system to survive winter without taking damage. It’s also the time to lock in the right transformer schedule before daylight saving time ends.
Step-by-step fall checklist:
- Adjust transformer schedule for fall daylight. Set your timer or confirm your photocell is responding to the earlier dusk.
- Inspect conduit and wire runs near hardscape. Concrete and pavers expand and contract with temperature changes. Check that wire runs near these materials haven’t been pinched or exposed.
- Clear debris from fixture tops. Leaves packed into or around fixture housings hold moisture and promote corrosion.
- Test all lamps before winter. Replace anything that’s marginal now rather than discovering failures mid-winter. Bi-pin G4 fixtures are particularly easy to service with the Tru-Scapes® G4 LED Lamp, which drops in without tools.
- Document system layout. Take photos or sketches of fixture locations before heavy mulch or leaf cover obscures them. This speeds up spring inspection considerably.
Winter: Monitoring and Minimal Intervention
For most homeowners in northern climates, winter maintenance is largely about monitoring rather than active servicing. That said, there are a few checks worth doing.
Winter checklist:
- Monitor output visually on a weekly basis. A zone that goes dark could indicate a blown fuse in the transformer, a failed lamp, or a cable that has been disrupted by frost.
- Keep snow off transformer housing. Avoid piling snow against the transformer, and ensure its ventilation slots are clear.
- Check photocell operation after heavy snowfall. Snow accumulation can cover or block a photocell, causing the system to run continuously or not at all.
Seasonal Comparison: What to Prioritize and When
| Maintenance Task | Spring | Summer | Fall | Winter |
|---|---|---|---|---|
| Full fixture walk-through | Priority | Monitor | Priority | Optional |
| Lens cleaning | Priority | Optional | Priority | Skip |
| Wire connection inspection | Priority | Optional | Priority | Optional |
| Transformer schedule adjustment | Priority | Optional | Priority | Skip |
| Lamp replacement | Priority | As needed | Priority | As needed |
| Photocell testing | Priority | Optional | Priority | Monitor |
| Voltage spot-check | Optional | Priority | Optional | Skip |
Pros and Cons of DIY vs. Professional Seasonal Maintenance
DIY Maintenance
- Lower ongoing service cost
- Immediate response to problems
- Builds familiarity with your own system
- Works well for simple zone systems
Professional Maintenance
- Expertise in complex multi-zone systems
- Advanced diagnostic tools for voltage and load issues
- Safety compliance with electrical codes
- Transformer internals should be left to pros
Do’s and Don’ts of Landscape Lighting Upkeep
Do
- Use code-compliant outdoor wiring practices such as gel-filled wire connectors at every outdoor splice.
- Replace failing halogens with quality LED equivalents.
- Test photocell response at each seasonal transition.
- Document fixture locations before winter.
- Match replacement lamps to the original beam spread.
Don’t
- Use standard household wire nuts outdoors.
- Mix different lamp types on the same transformer zone.
- Assume the photocell is working because it worked last season.
- Skip fall prep and deal with it in spring.
- Install a higher-wattage lamp than the fixture is rated for.
A Spring Reset That Saved a Full Zone
A homeowner in the mid-Atlantic region who installed a 12-zone low-voltage system the previous summer. By March, two full zones were dark, and three fixtures in a third zone were noticeably dimmer than the others.
The spring walkthrough revealed the root cause: a combination of frost heave that had pulled several wire connections apart at the fixture bases and standard wire nut splices that had corroded from winter moisture. The homeowner cut back each affected splice and reconnected using Gel-Filled Wire Nuts, which encapsulate the connection in a moisture-blocking gel. At the same time, the remaining halogen MR16 fixtures in those zones were replaced with Tru-Scapes® 5.5W MR16 lamps. The entire repair took one afternoon.
Two zones were fully restored. The third zone’s dimness — caused by a transformer tap that had been set too low — was corrected by moving those fixtures to a higher voltage tap. The Tru-Scapes approach of designing products that work within real-world installation conditions meant the homeowner had reliable, consistent parts on hand for a clean fix.
If you need a full zone restoration after winter, address wire connections first — that’s the single most common failure point in low-voltage outdoor lighting systems.
Products That Get the Job Done
For Lamp Replacement

Tru-Scapes® G4 LED Lamp
Tru-Scapes engineers their G4 LED lamp to be a direct drop-in replacement for bi-pin halogen lamps commonly found in path lights, well lights, and accent fixtures. It delivers consistent output with a long service life, making seasonal lamp swaps far less frequent. If you find a dark fixture during your spring walkthrough, this is the reliable solution to have on hand.

Tru-Scapes® 5.5W MR16
The Tru-Scapes 5.5W MR16 is engineered for spotlights and floodlights that need focused, directional output. It replaces halogen MR16s with a lamp that runs cooler, lasts longer, and draws significantly less power from the transformer — which matters if you’re running a loaded system. Its color rendering makes it a natural upgrade during any seasonal maintenance pass.
For Wiring and Connections

Gel-Filled Wire Nuts (50 pcs.)
Standard wire nuts are not rated for direct burial or repeated moisture exposure — yet many landscape lighting splices sit at or just below ground level. Tru-Scapes’ gel-filled wire nuts solve this by encasing the connection in a dielectric gel that blocks water, prevents corrosion, and maintains conductivity through freeze-thaw cycles. Every outdoor splice on a well-maintained system should use them.
For Transformer Automation

Tru-Scapes® 15′ Photocell
Homeowners who choose Tru-Scapes for their photocell get a 15-foot lead that provides installation flexibility for mounting the sensor away from obstructions like eaves, overhangs, or dense plantings. Testing your photocell at each seasonal transition is part of a sound landscape lighting maintenance checklist, and replacing a failing unit with this photocell is a simple, low-effort fix that restores automatic dusk-to-dawn control immediately.
Why Tru-Scapes Is the Answer
Landscape lighting maintenance is only as reliable as the components you’re working with. A system built on well-engineered parts is easier to inspect, faster to repair, and more resistant to the seasonal stressors that cause most failures.
Tru-Scapes engineers their products specifically for the demands of outdoor, ground-level, and buried applications. The Tru-Scapes® G4 LED Lamp and Tru-Scapes® 5.5W MR16 are built to deliver consistent output over long service lives — which means fewer lamp swaps every time you run a seasonal check. The gel-filled wire connectors address one of the most persistent causes of outdoor lighting failure: moisture intrusion at the splice. And the 15-foot photocell lead gives installers and homeowners the flexibility to position the sensor correctly rather than settling for a compromised mounting location.
When you follow a disciplined landscape lighting maintenance checklist, the quality of your components directly determines how much work each inspection finds. Homeowners who choose Tru-Scapes tend to find fewer failures per seasonal walkthrough — not because problems don’t arise, but because the products are built to withstand what outdoor environments actually throw at them. That’s the Tru-Scapes approach to outdoor lighting: performance designed for the long run.
Frequently Asked Questions
How often should I run a landscape lighting maintenance checklist?
A: A thorough inspection should happen at least twice a year — ideally at the spring and fall seasonal transitions. Summer spot-checks for overgrowth and voltage are also recommended for larger systems.
What’s the most common reason outdoor lighting zones go dark?
A: Corroded or disconnected wire splices at the fixture level are the most frequent cause of zone failures in low-voltage systems. Using gel-filled wire connectors at every buried or exposed splice significantly reduces this risk.
Can I replace halogen MR16s with LED equivalents without changing my transformer?
A: In most cases, yes — LED lamps draw far less wattage than halogens, which typically brings your transformer load down rather than straining it. The Tru-Scapes® 5.5W MR16 is a direct swap for standard MR16 sockets and works with most low-voltage landscape transformers.
How do I know if my photocell has failed?
A: If your system runs continuously or never turns on automatically at dusk, the photocell is the first thing to test. Cover it briefly during daylight — if the transformer doesn’t activate, the photocell has likely failed. The Tru-Scapes® 15′ Photocell is a straightforward replacement that restores automatic operation.
What causes voltage drop in a landscape lighting system?
A: Voltage drop occurs when wire runs are too long, wire gauge is too thin, or too many fixtures are loaded onto a single run. It can also worsen as wire connections corrode over time. A multimeter check at the furthest fixture on each zone helps you detect and correct drop before it affects lamp performance.
Should I adjust my transformer settings for daylight saving time?
A: Yes. Both spring and fall time changes affect how long your system runs each night and when it triggers. If your transformer uses a timer rather than a photocell, update the schedule manually. If it uses a photocell, verify it’s responding correctly after the time change.
Is low voltage landscape lighting safe to maintain as a DIY homeowner?
A: Low-voltage systems (12V AC) are generally safe for homeowner maintenance at the fixture and wiring level. However, for complex issues or if you are unsure, it is best to consult resources on installing landscape lighting yourself safely. Transformer internals — particularly the high-voltage primary side — should be serviced by a licensed electrician.
How do I prevent moisture damage to outdoor wire connections?
A: Use gel-filled wire connectors rather than standard wire nuts for any splice that will be buried, exposed to irrigation, or located near grade. Gel-Filled Wire Nuts from Tru-Scapes are specifically designed to seal outdoor connections against water intrusion and corrosion.
Glossary
- Voltage Drop: The reduction in electrical voltage that occurs along a wire run as distance increases or load adds up. In low-voltage landscape lighting, excessive drop causes fixtures to appear dim or flicker.
- Photocell: A light-sensitive sensor that automatically activates a transformer’s output at dusk and deactivates it at dawn, eliminating the need for manual timer programming.
- Frost Heave: The upward displacement of soil — and anything embedded in it, including landscape lighting fixtures — caused by the expansion of freezing groundwater. Common in northern climates and a primary reason spring fixture realignment is necessary.
- Lumen Depreciation: The gradual reduction in light output that occurs in all lamps over time as internal components age. LED lamps typically depreciate far more slowly than halogen equivalents, reducing how often replacements are needed.
Conclusion
Consistent maintenance is what separates a landscape lighting system that looks great for a decade from one that becomes an ongoing frustration after two seasons. A structured seasonal approach — spring reset, summer monitoring, fall prep, winter observation — gives you the framework to stay ahead of the failures that take most systems down.
The products you use for repairs and upgrades matter as much as the maintenance schedule itself. If you’re replacing lamps this season, the Tru-Scapes® 5.5W MR16 and Tru-Scapes® G4 LED Lamp are built to reduce how often you’re back in the mulch making the same repair. Start with your spring walkthrough, follow the checklist, and build a system that earns its curb appeal every night of the year.