Key Takeaways
- Cheap vs expensive landscape lighting is really a debate about lifetime cost, not sticker price.
- Solid brass, copper, and well-made concrete fixtures outlast thin aluminum and plastic in most climates.
- A quality low-voltage transformer matters as much as the fixtures it powers.
- Warm color temperature and good shielding make a yard look high-end at any budget.
- Budget lighting makes sense for renters, short timelines, and small accent areas.
- Premium systems pay off when you plan to stay five years or longer.
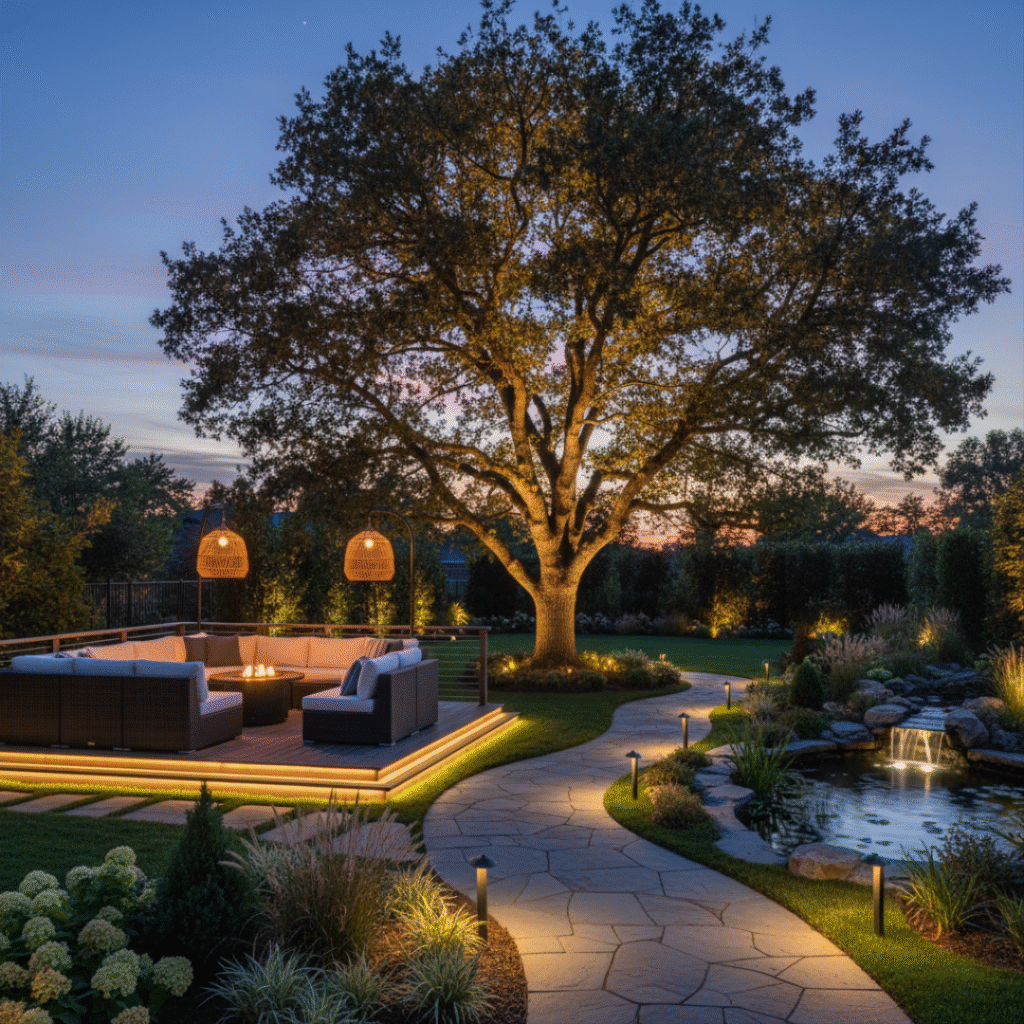
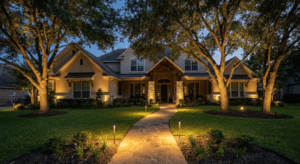
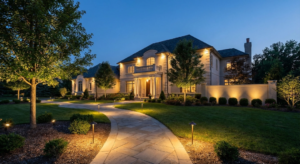
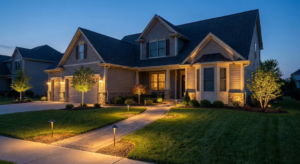
Walk any suburban street after dark and you can usually tell which yards were lit on a weekend from a big-box shelf and which were designed. One looks scattered and flickery. The other looks calm, even, and intentional. The difference between cheap vs expensive landscape lighting shows up fast at night, but the real gap shows up over years of rain, freezing, mowing, and sun.
This guide breaks down what you actually pay for when you spend more, where budget gear is perfectly fine, and how materials like concrete, brass, and aluminum hold up outdoors. You’ll get a side-by-side comparison table, a step-by-step way to plan your budget, and a realistic example of how the math plays out.
What Separates Budget and Premium Landscape Lighting?
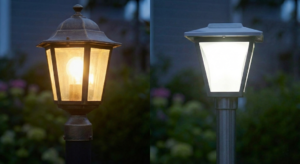
At first glance, a $15 path light and a $150 path light can look similar in a product photo. The difference lives in parts you can’t see from a listing: the metal, the seals, the LED driver, the wiring connections, and the warranty behind them.
Budget fixtures are built to hit a price. Premium fixtures are built to survive outdoor conditions for a long time. Neither is “wrong,” but they solve different problems.
6 Factors That Decide Cheap vs Expensive Landscape Lighting
1. Fixture Material
This is the biggest single factor. Low-cost fixtures typically use plastic, thin painted aluminum, or stamped steel. Plastic fades and turns brittle under UV light. Painted aluminum looks great until the coating chips, and then corrosion starts.
Professional-grade fixtures usually use solid cast brass, copper, or heavy cast materials like concrete. Brass and copper develop a natural patina instead of rusting. Material is the reason premium fixtures commonly last many years longer than budget ones.
2. Weather Sealing
Water is the enemy of outdoor lighting. Look for an IP (Ingress Protection) rating. An IP65 fixture resists water jets, while IP67 and IP68 fixtures handle temporary or continuous submersion. In-ground well lights and fixtures near sprinklers need the higher ratings.
Cheap fixtures often skip proper gaskets or use seals that harden and crack within a couple of seasons.
3. LED Quality and Color
Not all LEDs are equal. Higher-end fixtures use LEDs with good color rendering (CRI), which makes plants, stone, and wood look natural instead of washed out. They also manage heat better, which protects LED lifespan.
The U.S. Department of Energy’s Energy Saver program notes that heat is a key factor in LED performance and longevity. Budget LEDs packed into poorly ventilated housings tend to dim, shift color, or fail early.
4. Power Source: Solar vs Low-Voltage
Most budget lighting is solar. Most premium lighting is low-voltage (12V) wired to a transformer. Solar lights are easy to install, but their brightness depends on daily sunlight and battery health. In shady yards or short winter days, they often fade by mid-evening.
Low-voltage systems deliver consistent light every night and can be put on timers or photocells.
5. Transformer and Wiring
A low-voltage system is only as good as its transformer. Quality transformers use stainless or weather-resistant enclosures, multiple voltage taps to correct for voltage drop on long runs, and proper overload protection. Look for UL-listed equipment. UL certification means the product was tested against recognized safety standards.
Cheap kits often include an undersized transformer and push-pin wire connectors that corrode. That’s the most common reason budget systems start flickering.
6. Warranty and Serviceability
Premium manufacturers often back their fixtures with long warranties, sometimes lifetime coverage on the housing. Budget fixtures may carry a one-year warranty or none at all. Premium fixtures also tend to use replaceable lamps or modules, so a failed LED doesn’t mean throwing away the whole light.
Side-by-Side Comparison Table
| Feature | Budget Landscape Lighting | Premium Landscape Lighting |
|---|---|---|
| Typical materials | Plastic, thin aluminum, stamped steel | Solid brass, copper, cast concrete, heavy cast metal |
| Power source | Mostly solar or basic plug-in kits | Low-voltage 12V with quality transformer |
| Brightness consistency | Varies with sun and battery | Consistent every night |
| Weather sealing | Basic or none | Gasketed, often IP67 or higher |
| Expected lifespan | Often a few seasons | Many years with basic maintenance |
| Warranty | Short or none | Often long-term, sometimes lifetime on housings |
| Upfront cost | Low | High |
| Long-term cost | Higher due to replacements | Lower per year of use |
Where Concrete Light Fixtures Fit In
Concrete has become one of the most popular materials for modern outdoor design, and it sits in an interesting spot in the budget vs premium debate. Concrete light fixtures outdoor can be either budget or premium, depending on how they’re made.
Well-made cement outdoor lighting uses dense mixes, glass fiber reinforcement (GFRC), and sealed surfaces. These pieces are heavy, stable, and resist wind, kids, and lawn equipment. Poorly made versions use porous mixes that absorb water and can crack during freeze-thaw cycles, which is a real concern in northern states.
A few outdoor concrete lamp ideas that work well:
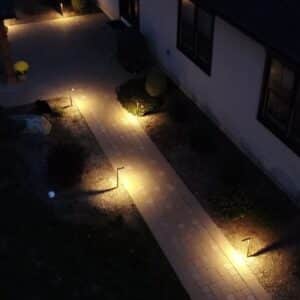
- Modern concrete garden lights as low bollards along a walkway for a clean, architectural look.
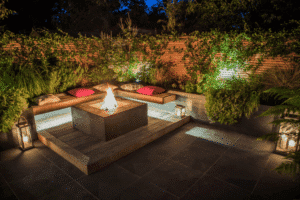
- Concrete patio lights set as cube or cylinder fixtures at the corners of a patio or fire pit area.
- Concrete step lights recessed into retaining walls or stair risers.
- Concrete planter lights that combine a planter and a soft uplight in one piece.
If you live in a cold climate, choose sealed or reinforced concrete and ask about freeze-thaw performance before you buy. If you live in a mild climate, even mid-range concrete fixtures tend to hold up well.
Pros vs Cons
Budget Landscape Lighting
Pros:
- Low upfront cost
- Easy DIY installation, often no wiring
- Good for testing a layout before committing
Cons:
- Short lifespan in most climates
- Inconsistent brightness, especially with solar
- Cool, harsh color temperatures are common
- Frequent replacement adds up over time
Premium Landscape Lighting
Pros:
- Durable materials that age well
- Consistent, warm, natural-looking light
- Long warranties and replaceable parts
- Adds curb appeal and visible quality to the home
Cons:
- Higher upfront investment
- Wired systems usually need trenching and planning
- Professional design and installation add cost
When Each Option Makes Sense
Here’s the honest way to decide:
- If you’re renting or plan to move within two years, choose budget solar lights. You’ll get some ambiance without investing in something you’ll leave behind.
- If you plan to stay five years or longer, choose a premium low-voltage system. Lower replacement costs and better results usually justify the higher starting price.
- If you want to light a large yard, long driveway, or trees, choose premium. Budget fixtures rarely have the output or consistency for big spaces.
- If you only want to light a small accent area, like a single planter or a few steps, a mid-range option or quality concrete patio lights may be all you need.
A hybrid approach also works. Many homeowners start with a premium transformer and a few quality fixtures at the entry and front walkway, then expand over time.
How to Plan Your Landscape Lighting Budget: Step by Step
- Walk the yard at night. Note where you actually need light for safety (steps, paths, entries) and where you want it for looks (trees, walls, house facade).
- Separate safety from accent lighting. Spend first on safety areas, since those get used every night.
- Pick your power source. Decide between solar and low-voltage based on sun exposure and how consistent you need the light to be.
- Choose fixture materials for your climate. Brass and copper for wet or coastal areas, sealed concrete or heavy cast metal for modern designs.
- Size the transformer correctly. Add up fixture wattage and leave headroom for future additions.
- Set a color temperature. Warm white (around 2700K to 3000K) generally looks more natural and inviting.
- Compare lifetime cost, not sticker price. Divide total cost by expected years of use to see the real cost per year.
Do / Don’t List
Do:
- Choose warm color temperatures for a natural look
- Use shielded fixtures to reduce glare and light pollution
- Check IP ratings for in-ground and wet-area lights
- Buy UL-listed transformers and components
- Plan for future expansion when sizing your transformer
Don’t:
- Mix too many color temperatures in one yard
- Point uplights directly at windows or neighbors’ homes
- Rely on push-pin connectors for permanent wiring
- Place solar lights in heavy shade and expect full brightness
- Over-light the yard; contrast is what makes lighting look premium
DarkSky International recommends fully shielded, warm-toned outdoor lighting that only lights what’s needed. It’s good advice for both the night sky and a more refined look.
Real-World Scenario
A homeowner in suburban Pennsylvania buys a set of budget solar path lights for the front walkway. They look fine the first summer. By the next spring, several have cracked lenses, a few won’t hold a charge, and the rest have faded to a bluish glow. He replaces them twice over four years.
His neighbor installs a low-voltage system with brass path lights, two concrete bollards near the driveway, and a properly sized transformer. The upfront cost is noticeably higher. Four years later, the fixtures need only an occasional cleaning and a lens wipe, and the system looks the same as on day one.
When you add up replacements, time, and frustration, the first homeowner ends up spending a meaningful share of what the premium system cost, without getting premium results. That’s the core of the cheap vs expensive landscape lighting question.
Quick Answers:
Is expensive landscape lighting really worth it?
A: For homeowners staying five or more years, usually yes. Premium fixtures last longer, look better, and cost less per year of use than repeatedly replacing budget lights.
How long do cheap landscape lights last?
A: Many budget solar and plastic fixtures last only a few seasons outdoors. Lifespan depends on climate, sun exposure, and build quality.
What is the best material for outdoor light fixtures?
A: Solid brass and copper are among the most durable choices because they resist corrosion. Well-sealed, reinforced concrete is also a strong option for modern designs.
Are concrete light fixtures good for outdoor use?
A: Yes, if they’re made with dense, reinforced, sealed concrete. Porous or unsealed concrete can crack in freeze-thaw climates.
Is solar or low-voltage landscape lighting better?
A: Low-voltage lighting provides consistent brightness every night and suits larger projects. Solar is easier to install and works best for small, sunny areas.
What color temperature looks best for landscape lighting?
A: Warm white light in the 2700K to 3000K range tends to look the most natural. It flatters plants, stone, and wood without a harsh blue tint.
Can I mix budget and premium landscape lights?
A: Yes. Many homeowners use premium fixtures in high-visibility areas and budget options in less important spots, then upgrade over time.
Does landscape lighting add value to a home?
A: Industry experts suggest that well-designed outdoor lighting improves curb appeal and nighttime safety. Both matter to buyers, though the exact value varies by market.
Glossary of Terms
Low-Voltage Lighting: An outdoor lighting system that runs on 12 volts through a transformer, which makes it safer and easier to install than standard line-voltage lighting.
Transformer: The device that converts household 120V power to 12V for landscape lights. Its size and quality affect how evenly your lights perform.
IP Rating: A standard rating that shows how well a fixture resists dust and water. Higher numbers mean better protection.
Color Temperature (Kelvin): A measure of how warm or cool light appears. Lower numbers look warm and golden, while higher numbers look cool and blue.

Conclusion
The cheap vs expensive landscape lighting decision comes down to time. Budget lights are a fair choice for short stays, small accent areas, and testing ideas. For homeowners planning to stay, premium fixtures in brass, copper, or quality concrete, paired with a solid low-voltage transformer, deliver better light, fewer headaches, and a lower cost per year.
Focus your budget on materials, sealing, and the transformer, keep your color temperature warm, and light with restraint. That’s how any yard starts to look high-end after dark.
Ready to light your property the right way? Contact Tru Scape for a nighttime lighting consultation and get a design built to last.