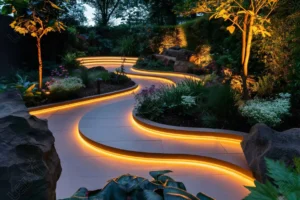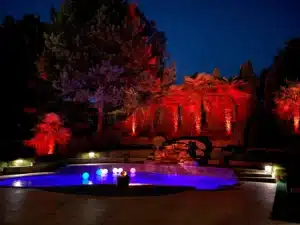
Concrete patio lighting integration is one of the few outdoor upgrades that is dramatically easier to do before the concrete cures than after. Once a slab is poured and finished, every fixture becomes a coring job, a saw cut, or a surface-mounted compromise. Plan it early and the lighting disappears into the hardscape entirely, showing you the glow and not the hardware.
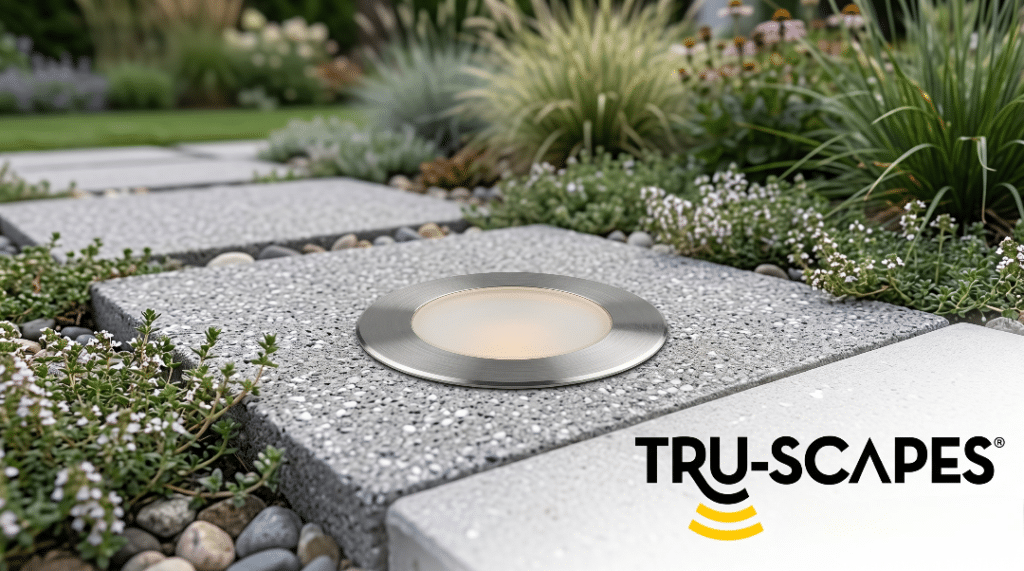
That is the reason Tru-Scapes designs fixtures around the realities of poured concrete and paver work rather than adapting garden lights to fit. Products like the Tru-Scapes® Concrete 2.5″ Dot Light are sized, sealed, and shaped for permanent embedment in a hard surface.
This guide walks through how outdoor concrete lighting is actually laid out, sleeved, wired, and aimed, plus which fixture type belongs in which situation.
Key Takeaways
- Concrete patio lighting integration succeeds or fails during the layout stage, not the wiring stage.
- Sleeve every conduit run before the pour so wiring stays serviceable for decades.
- Tru-Scapes builds sealed, low voltage fixtures designed to sit flush in hardscape surfaces.
- Space walkway fixtures for overlapping pools of light instead of isolated bright spots.
- Aim light down and across the surface to reveal texture without creating glare.
Why Concrete Changes the Lighting Conversation
Concrete is unforgiving in a way that soil is not. A path light in a planting bed can be moved with a shovel. A dot light set into a slab is there for the life of the patio.
That permanence cuts both ways. It means fixtures must be sealed against moisture, rated for foot traffic, and wired through conduit that stays accessible. It also means a well-planned installation looks intentional and architectural instead of decorative.
Concrete also moves. Slabs expand, contract, and settle with freeze and thaw cycles. The American Concrete Institute (ACI) has long emphasized proper joint placement and subgrade preparation for exactly this reason, and lighting layout should respect those same proper control joint placement rather than fight them.
Fixtures should never straddle a control joint. Place them within a panel, not across a line where the slab is designed to crack.
The Four Ways Light Gets Into a Hard Surface
Most hardscape lighting falls into four approaches, and most good patios use two or three together.
| Approach | Where It Lives | What It Does Best | Best Surface Condition |
|---|---|---|---|
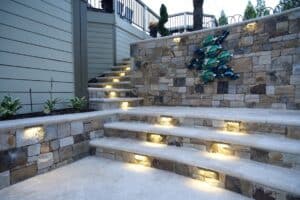
| Flush dot lights | Inside the slab or paver field | Marks edges, steps, and borders with a low, subtle glow | New pour or new paver install |
| Wash lights | Wall face, riser, or column | Sweeps light across the walking surface at a low angle | New or existing |
| In-ground well lights | Set into grade beside the slab | Uplights trees, columns, and vertical features | New or existing |
| Path lights | Adjacent bed or border | Delivers broad, overlapping pools along a route | Any, easiest retrofit |
Flush and in-ground fixtures deliver the cleanest look, but they demand planning. Path lights and wash lights are far more forgiving on an existing patio.
If your slab is already poured and you do not want to core it, choose surface-adjacent options like the traditional path lights and the Adjustable Walkway Wash Light. If the concrete has not been placed yet, the Concrete 2.5″ Dot Light gives you a result that no retrofit can match.
Step by Step: Integrating Lighting Into a New Concrete Pour
- Walk the space at night first. Note where people step, turn, and slow down. Those are your fixture locations. Aesthetics follow function here.
- Mark fixture positions on the compacted subgrade with paint, keeping every mark inside a future control joint panel.
- Run low voltage conduit sleeves between every marked position and the transformer location. Oversize the sleeve so a future wire pull is possible.
- Set fixture housings or sleeves to finished grade height. Getting this wrong by even a quarter inch is visible forever.
- Cap and tape every opening so wet concrete cannot enter the housing during placement.
- Pour, screed, and finish the concrete around the housings, protecting the openings through the float and broom stages.
- Allow the slab to cure fully before pulling wire or setting fixtures.
- Pull low voltage cable, install fixtures, connect to the transformer, and verify voltage at the last fixture in each run.
- Aim and adjust after dark, then confirm your joints and drainage are unobstructed.
Preventing voltage drop is the step most people skip. A run that measures fine at the transformer can arrive dim at the far end, which produces mismatched color and shortened lamp life across the system.
Aiming, Spacing, and Restraint
The Illuminating Engineering Society (IES) publishes extensive guidance on outdoor lighting quality, and one theme runs through all of it: uniformity matters more than brightness. A walkway with gentle overlapping pools reads as safe. The same walkway with four blazing hot spots reads as an obstacle course.
For walkway lighting ideas that hold up over time, aim for continuity. Space fixtures so the light from one reaches the light from the next, then reduce output rather than increase it. For specific guidance, refer to these expert spacing tips.
The Adjustable Walkway Wash Light earns its place here because a fixed beam angle rarely suits a real site. Grade changes, curves, and adjacent plantings all shift where light needs to land.
DarkSky International also makes a practical point worth applying at home: shield the source and point light downward. Light that leaves your property is doing nothing for your patio.
Do’s and Don’ts of Concrete Lighting
- Do: Sleeve conduit before the pour
- Don’t: Core a finished slab as a first resort
- Do: Keep fixtures inside control joint panels
- Don’t: Place a fixture across a joint line
- Do: Use sealed fixtures rated for embedment
- Don’t: Adapt an indoor or decorative fixture
- Do: Test voltage at the end of each run
- Don’t: Assume the transformer reading is final
- Do: Aim after dark, on site
- Don’t: Aim during daylight and hope
- Do: Layer two or three fixture types
- Don’t: Rely on one fixture type everywhere
In-Ground Fixtures: The Honest Tradeoffs
Sealed in-ground well lights and flush dot lights produce the most refined result available in hardscape lighting. They also carry real constraints.
Pros and Cons
- Pros: Completely flush, nothing to trip over or mow around
- Cons: Placement is permanent once concrete cures
- Pros: Reads as architecture rather than an accessory
- Cons: Requires planning during construction
- Pros: Protected from string trimmers and snow shovels
- Cons: Drainage around the housing must be correct
- Pros: Delivers dramatic uplight on columns and trees
- Cons: Retrofits demand coring or saw cutting
If you are lighting a mature tree or a stone column beside the patio, the Sealed In-Ground Well Light is the right tool. If you need a border marked and nothing more, a dot light does the job with less hardware in the ground.
A Split-Level Patio in Ohio
A homeowner planned a new concrete patio with a walkway connecting the driveway to a raised seating area, plus two steps in between. The original plan called for four path lights and nothing else.
The revised layout used four fixture types instead of one. Tru-Scapes® Concrete 2.5″ Dot Lights were set along the step riser edges and the patio perimeter during the pour. Two Adjustable Walkway Wash Lights were mounted on the low seat wall to sweep the walkway surface. A single Sealed In-Ground Well Light uplit a maple beside the seating area. Traditional Path Lights carried the run from the driveway, where no concrete work was happening.
The outcome was a patio where the steps are legible without anyone staring into a bulb, and the tree becomes the visual anchor after dark. Total fixture count went up. Perceived brightness went down. That is usually the sign of a layout done well.
Products That Get the Job Done
For Flush In-Surface Detail

Tru-Scapes® Concrete 2.5″ Dot Light — TSC-250c-BLK
Built for permanent embedment in concrete and paver surfaces, this compact fixture sits flush with the finished grade so nothing interrupts the walking plane. It is the fixture to specify when in-ground concrete lights need to mark step edges, borders, and transitions with a low, controlled glow that lasts through seasons of foot traffic.
For Surface Wash and Walkways
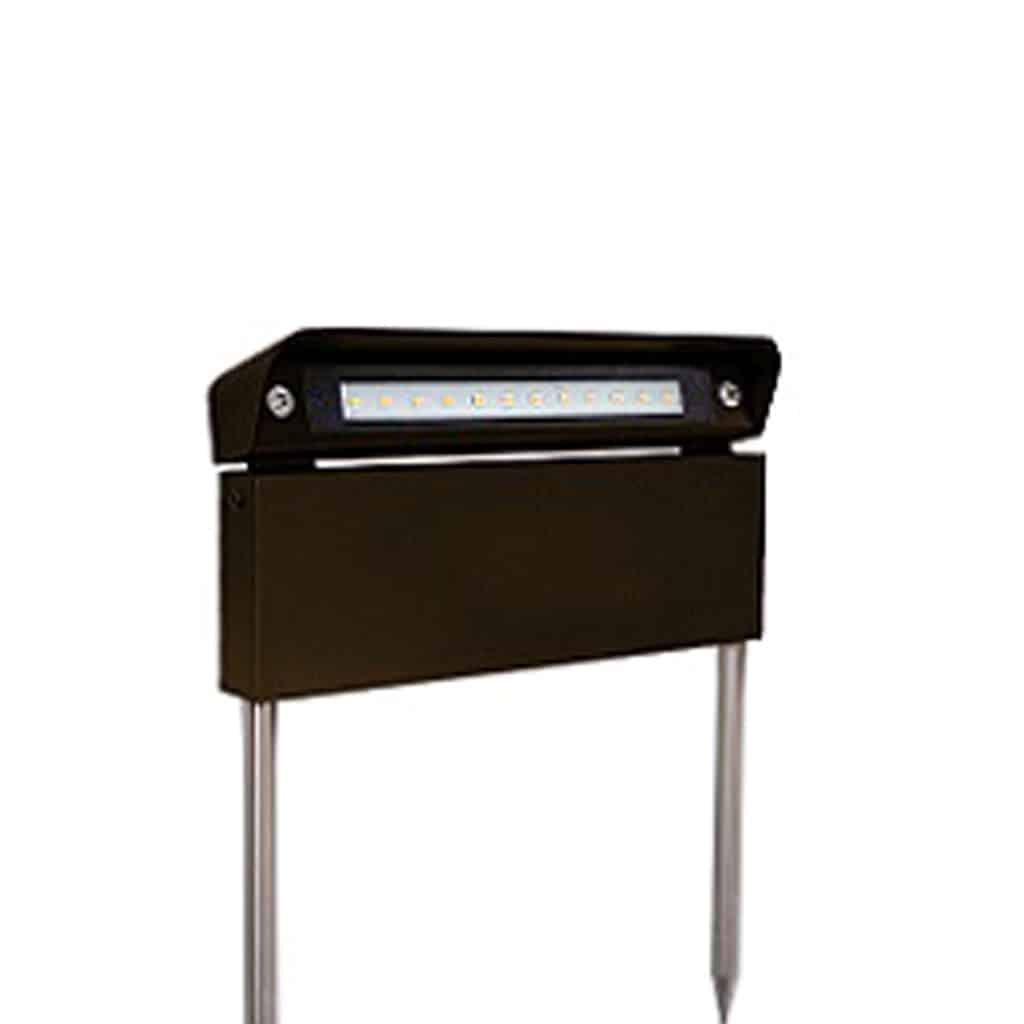
Adjustable Walkway Wash Light — TS-A6500C
The adjustable head lets you set the beam exactly where the walking surface needs it, which matters on curves, slopes, and irregular hardscape. It delivers even coverage across concrete and paver patio lighting layouts without the hot spots that fixed-angle fixtures tend to produce.
For Uplighting Vertical Features
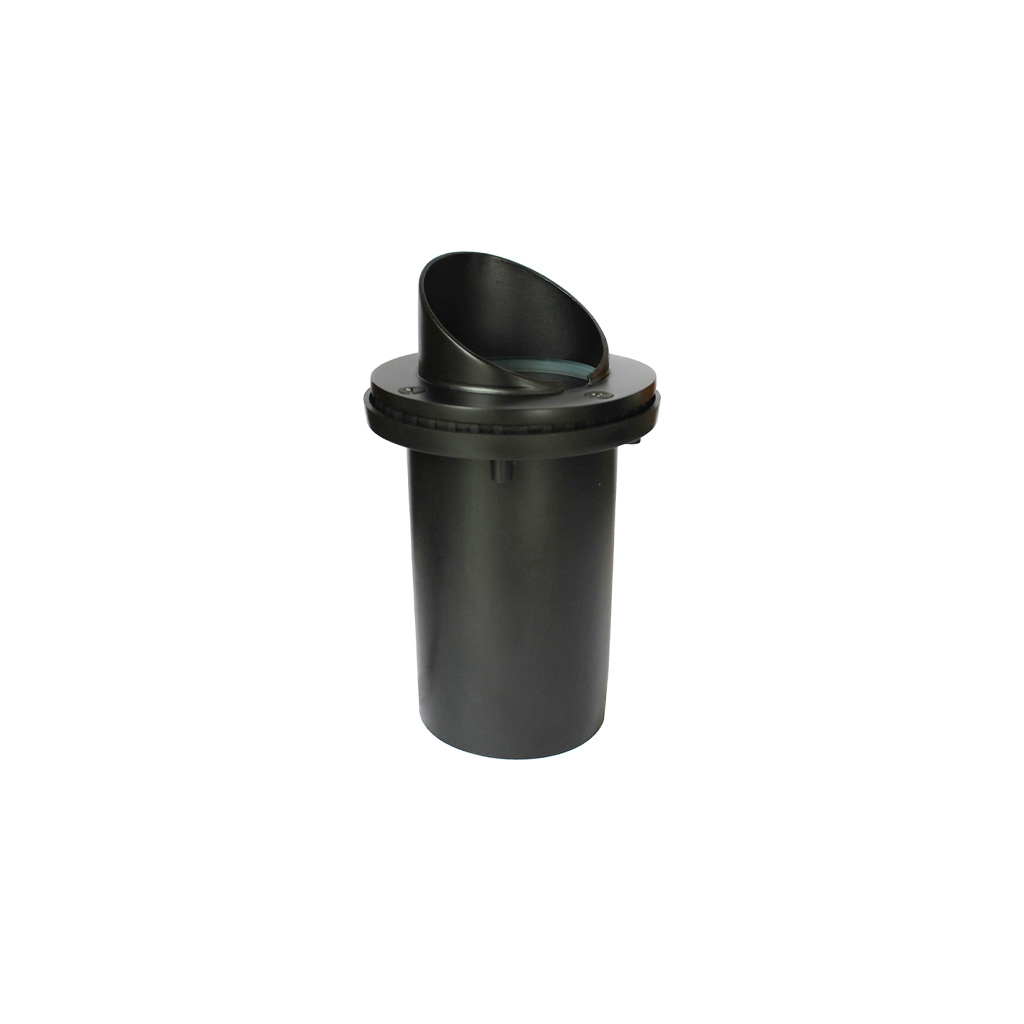
Sealed In-Ground Well Light — TS-B203
Sealed construction is what makes an in-ground fixture survive years of moisture, irrigation, and freeze cycles. Use it to uplight trees, columns, and wall faces adjacent to the patio, where a flush installation keeps the light source out of sight and out of the way.
For Path Runs and Retrofits

Traditional Path Light — TS-B301
When a run passes through planting beds, lawn, or an area where no concrete work is happening, a path light is the practical answer. Its shielded profile pushes light down onto the route rather than out toward the eye, which is exactly what you want along a walkway.
Frequently Asked Questions
Can I add lighting to a concrete patio that is already poured?
A: Yes, though the methods change. Surface-mounted wash lights, path lights in adjacent beds, and well lights set into grade beside the slab all work without touching the concrete. Coring is possible for flush fixtures but should be treated as a deliberate choice, not a default.
Do concrete patio lights need to be low voltage?
A: Low voltage lighting systems are the standard for residential hardscape work because they are safer to install and easier to expand. Line voltage installations fall under stricter requirements in the National Electrical Code and typically involve a licensed electrician.
How deep should conduit be buried under a patio?
A: Follow local code and the requirements in the National Electrical Code for the system type you are installing. As a practical matter, sleeves under a slab should sit in compacted subgrade with enough cover that concrete placement does not crush or shift them.
Which fixture should I use for step edges?
A: The Tru-Scapes® Concrete 2.5″ Dot Light is purpose-built for this. It sits flush in the surface, marks the edge clearly, and stays out of the way of shovels and furniture.
Will freeze and thaw cycles damage in-ground fixtures?
A: Sealed fixtures designed for embedment are built to handle it. The larger risk is standing water around a poorly drained housing, so make sure the surrounding base drains and the fixture is set at correct grade.
How many fixtures does a typical walkway need?
A: Spacing depends on beam spread, mounting height, and walkway width more than on any fixed number. Aim for overlapping pools of light rather than a set count, then dial output down once coverage is continuous.
Can I mix fixture types in one system?
A: You should. Most well-designed hardscape lighting layouts combine flush dot lights, wash lights, and path lights on a single low voltage system, with the transformer sized for the total connected load.
What color temperature works best outdoors?
A: Warmer temperatures generally read as more natural against stone, concrete, and plantings. For more details, see our guide on choosing the right color temperature. Consistency across the whole system matters more than the exact number, since mismatched fixtures are immediately noticeable at night.
Glossary
- Voltage drop: The loss of electrical pressure along a cable run, which causes fixtures at the far end to appear dimmer than those near the transformer.
- Control joint: A planned groove cut or tooled into concrete that directs where the slab cracks as it shrinks and moves.
- Sleeve: A section of conduit placed before a pour so wiring can be pulled through the finished slab later without cutting it.
- Grazing: An aiming technique that sends light across a surface at a shallow angle to emphasize texture in stone, block, or concrete.
Why Tru-Scapes Is the Answer
Concrete is the least forgiving surface in the landscape, and it exposes weak fixtures quickly. Water finds seams. Freeze cycles work on every gap. Foot traffic and furniture punish anything that sits proud of the surface. A fixture that performs well in a mulch bed can fail badly when it is locked into a slab.
The Tru-Scapes approach to hardscape lighting starts from that constraint rather than working around it. Fixtures like the Tru-Scapes® Concrete 2.5″ Dot Light are engineered specifically for embedment in concrete and paver surfaces, with sealed construction and a flush profile that assumes the fixture will never be relocated. That is a different design brief than a decorative light, and it produces a different result.
The same thinking runs through the full range. Adjustable heads exist because real sites have curves and grade changes. Sealed in-ground housings exist because moisture is constant. Path lights are shielded because glare is the enemy of a walkway.
Homeowners who choose Tru-Scapes are choosing components built for a permanent installation, which is exactly what concrete demands.
Conclusion
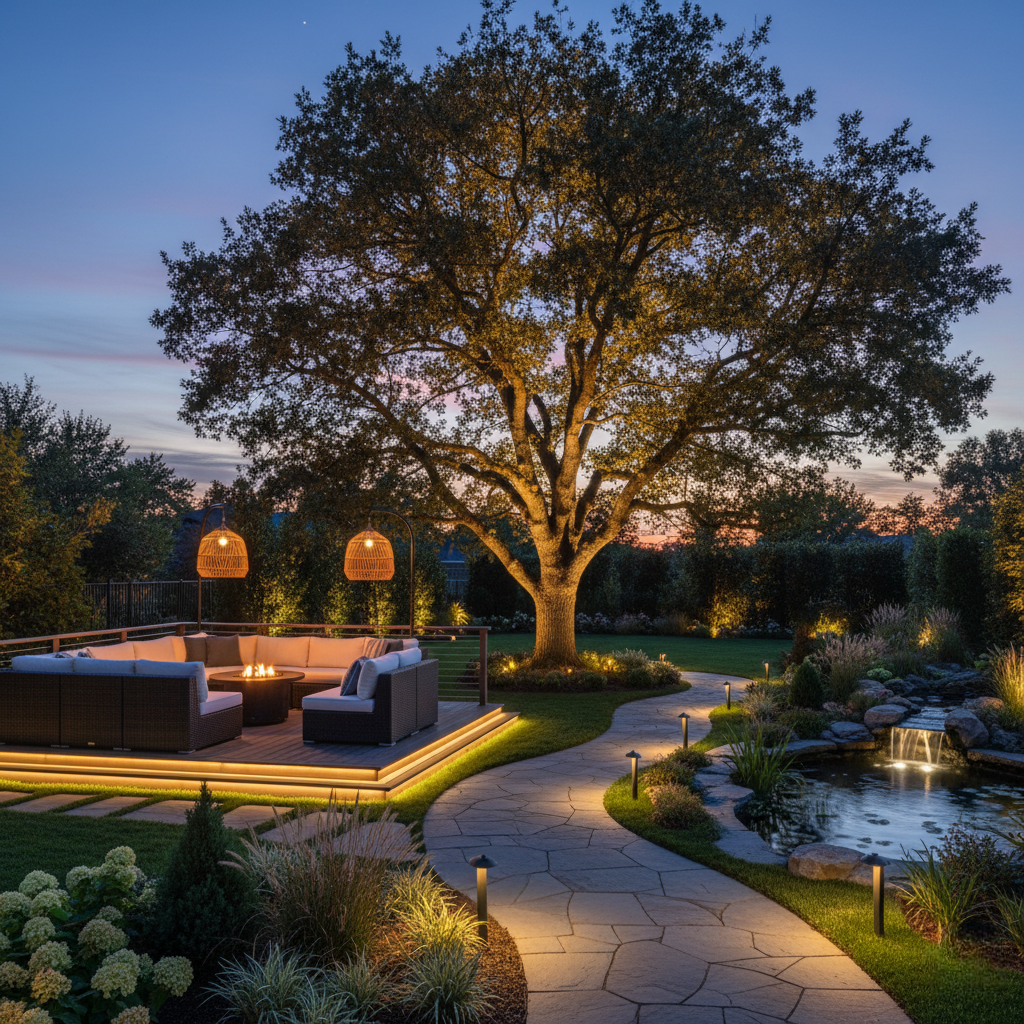
Good concrete patio lighting integration is mostly a planning discipline. Decide fixture locations while the subgrade is still exposed, sleeve your runs, respect the control joints, and choose fixtures engineered to live inside a hard surface permanently.
The payoff is a patio that works after dark without looking like it is trying to. Steps read clearly. Texture comes alive. Nothing glares back at you.
Start with the surface itself and build outward. The Tru-Scapes® Concrete 2.5″ Dot Light is the foundation of that layout, and the Adjustable Walkway Wash Light fills in everything the flush fixtures cannot reach. Build it once, build it sealed, and enjoy it for the life of the patio.