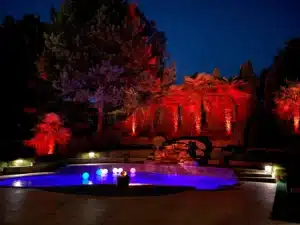
A concrete staircase is one of the hardest-working surfaces on a property, and one of the least forgiving after dark. Concrete step lighting solves both problems at once by putting low, glare-free illumination exactly where feet land. Done well, it reads as architecture rather than as an add-on, because the fixtures disappear into the riser face and only the light shows.
The difference between a staircase that looks intentional and one that looks patched usually comes down to fixture selection. Tru-Scapes builds hardware specifically for concrete and masonry applications, including the Concrete 6″ Step Light and the 1.5″ Dot Light, both engineered to sit flush in a poured or cut riser rather than bolted onto it. That single design decision is what separates a finished look from a retrofit look.
Key Takeaways
- Concrete step lighting works best when fixtures wash the tread, not the eye.
- Recessed step lights beat surface-mount fixtures for durability and clean sightlines.
- Tru-Scapes engineers concrete-specific housings that survive freeze-thaw cycles and pressure washing.
- Plan light placement before the pour whenever possible, not after.
- Warm color temperature keeps concrete looking natural instead of gray and clinical.
Why Built-In Lighting Belongs in the Riser, Not Above It
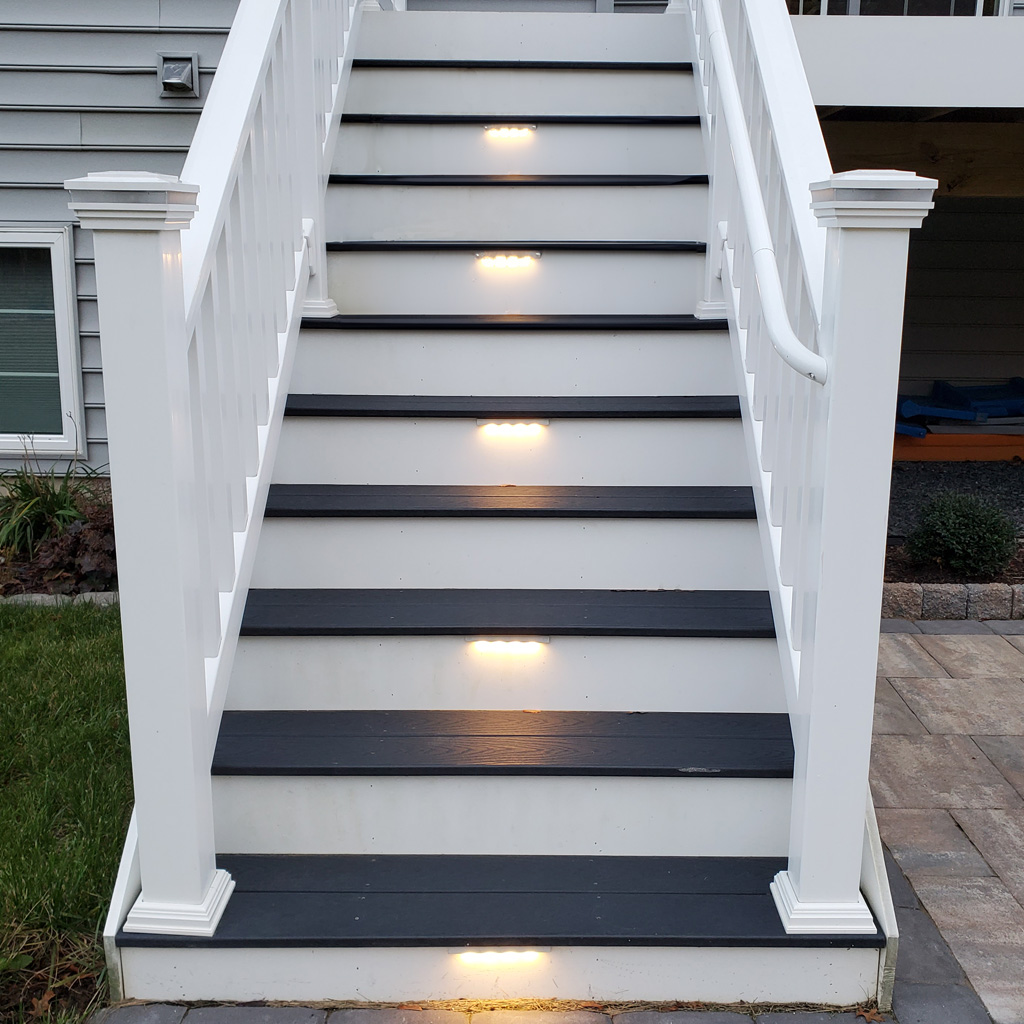
Overhead fixtures light the top of a step but leave the nosing in shadow, which is precisely where depth perception fails. Riser-mounted fixtures throw light forward and down across the tread, so the horizontal surface reads clearly and the edge of each step is defined by contrast.
The Illuminating Engineering Society has long emphasized illuminating the walking surface itself rather than the surrounding area, and stair guidance from the National Fire Protection Association follows the same logic for egress paths. The practical takeaway for a residential staircase is simple. Light the tread, hide the source. This approach aligns with the safety and aesthetic benefits of proper pathway illumination.
If your steps sit against a wall or a raised planter, a single line of riser lights on the wall side is usually enough. If the staircase is open on both sides, run fixtures on alternating risers so the pattern stays balanced and no step goes dark.
Fixture Types for Concrete Stairs
Not every step light is built for concrete. Poured and precast concrete moves, wicks moisture, and gets cleaned aggressively. Fixture bodies designed for wood decking often fail early in that environment.
| Fixture Type | Best Application | Light Character | Durability in Concrete |
|---|---|---|---|
| Recessed rectangular step light | Wide poured risers, front entries | Broad wash across full tread | Excellent when core-drilled properly |
| Dot or button light | Narrow risers, accent runs, retaining walls | Tight pool of light, punctuated look | Excellent, minimal cut required |
| Deck riser light | Composite or wood transitions adjoining concrete | Directional forward throw | Good, best on framed sections |
| Surface-mount puck | Retrofits with no cutting access | Visible fixture, higher glare risk | Fair, exposed to impact and cleaning |
The Tru-Scapes approach to concrete is to match the cut to the fixture rather than forcing a generic housing into a hole that does not fit. The Concrete 6″ Step Light suits wide monolithic risers where a broad wash is wanted. The Concrete 1.5″ Dot Light suits narrow risers, wall caps, and column bases where a smaller aperture keeps the masonry visually intact.
Design Inspiration: Nine Layouts That Work
- Every riser lit. The most common approach for short flights of three to five steps. Clean, symmetrical, and impossible to misread at night.
- Alternating risers. Best on long flights where lighting every step becomes visually busy. Creates rhythm and reduces total fixture count without sacrificing safety.
- Single-side runs. Fixtures on one edge only, ideal when a staircase hugs a wall or hardscape.
- Twin-edge symmetry. A fixture near each end of every riser, framing the tread and emphasizing width.
- Center dot accents. A single dot light centered on each riser for a minimalist, gallery-like effect.
- Top and bottom emphasis. Full lighting on the first and last steps, which are statistically the most common trip points, with lighter treatment between.
- Combined riser and wall wash. Step lights paired with lighting in an adjacent seat wall or planter, layering the space with hardscape lighting effectively.
- Curved sweep. On radius steps, fixture spacing tightens toward the inside of the curve so light distribution stays even.
- Transition runs. Where concrete meets a deck landing, riser lights on both materials keep the lighting language consistent across the change in surface.
Step-by-Step: Planning Concrete Step Lighting
- Map the flight first. Count risers, measure width, and note where the staircase meets other hardscape. Mark centerlines on paper before touching a drill.
- Choose aperture size to match riser height. Tall risers accept a 6 inch fixture comfortably. Short or capped risers usually call for a 1.5 inch dot.
- Set fixture height in the riser. Aim for the lower third of the riser face so light travels forward across the tread instead of into approaching eyes.
- Plan the wire path before the pour. Sleeve conduit through the form when the stairs are new construction, following best practices for low-voltage landscape lighting installation. On existing concrete, plan a chase behind an adjacent wall or use a saw-cut channel that will be patched and sealed.
- Core drill cleanly. Use a wet core bit matched to the fixture diameter. Chipping the face is the single most common mistake on retrofits.
- Test the full run before final patching. Power everything up, confirm brightness and consistency, then seal and finish.
- Seal every penetration. Concrete wicks water. A properly sealed collar is what keeps a fixture alive through winter.
Trade-Offs Worth Knowing
| Pros | Cons |
|---|---|
| Fixture disappears into the riser face | Requires precise core drilling |
| No trip hazard or protruding hardware | Retrofit wiring can be labor intensive |
| Protected from impact, snow shovels, and mowers | Fixture spacing must be planned upfront |
| Even, glare-free wash across the tread | Repositioning later means patching concrete |
| Survives pressure washing and salt exposure | Fewer beam-angle adjustments after install |
Do and Don’t for Concrete Step Lighting
| Do | Don’t |
|---|---|
| Use warm color temperature so concrete reads natural | Don’t use cool blue-white light that flattens gray tone |
| Keep fixture centerlines consistent across all risers | Don’t eyeball placement one step at a time |
| Seal every core hole against moisture intrusion | Don’t skip sealing because the fixture feels snug |
| Match fixture housing to concrete, not wood | Don’t reuse deck hardware in masonry |
| Light the tread surface | Don’t aim light outward at approaching eyes |
DarkSky International recommends shielding fixtures and keeping output no brighter than the task requires, which aligns naturally with recessed riser lighting since the source is hidden by design.
A Retrofit on a 1970s Front Entry
A homeowner in southeastern Pennsylvania had a six-step poured concrete front entry with a single overhead porch fixture. Guests consistently missed the second-to-last step because the overhead light cast the nosing into shadow.
The fix used two Tru-Scapes products. Four Concrete 6″ Step Lights were core-drilled into alternating risers on the wall side, positioned in the lower third of each riser face. Two Concrete 1.5″ Dot Lights were added at the base of the flanking columns to define the entry threshold without adding another bright source at eye level.
Wiring ran through a saw-cut chase behind the adjoining seat wall, then was patched and sealed. The result changed the perceived depth of the staircase completely. The nosing of every step is now visible from the driveway, and the entry reads as a designed feature rather than a utility surface.
Products That Get the Job Done
For Concrete and Masonry Risers

Tru-Scapes® Concrete 6″ Step Light — TSC-600c-BLK
This is the workhorse fixture for wide poured or precast risers. The 6 inch aperture delivers a broad, even wash across the full tread depth, and the housing is built to sit flush in a core-drilled opening so nothing protrudes into the walking path. Black finish keeps the fixture visually recessive during daylight hours.

Tru-Scapes® Concrete 1.5″ Dot Light — TSC-150-BLK
When a riser is short, capped, or too narrow for a rectangular fixture, the dot light is the answer. The small aperture requires minimal cutting, which preserves the structural face of the concrete and keeps the masonry looking untouched. It also works well on column bases, wall caps, and retaining wall courses that flank a staircase.
For Deck and Transition Risers
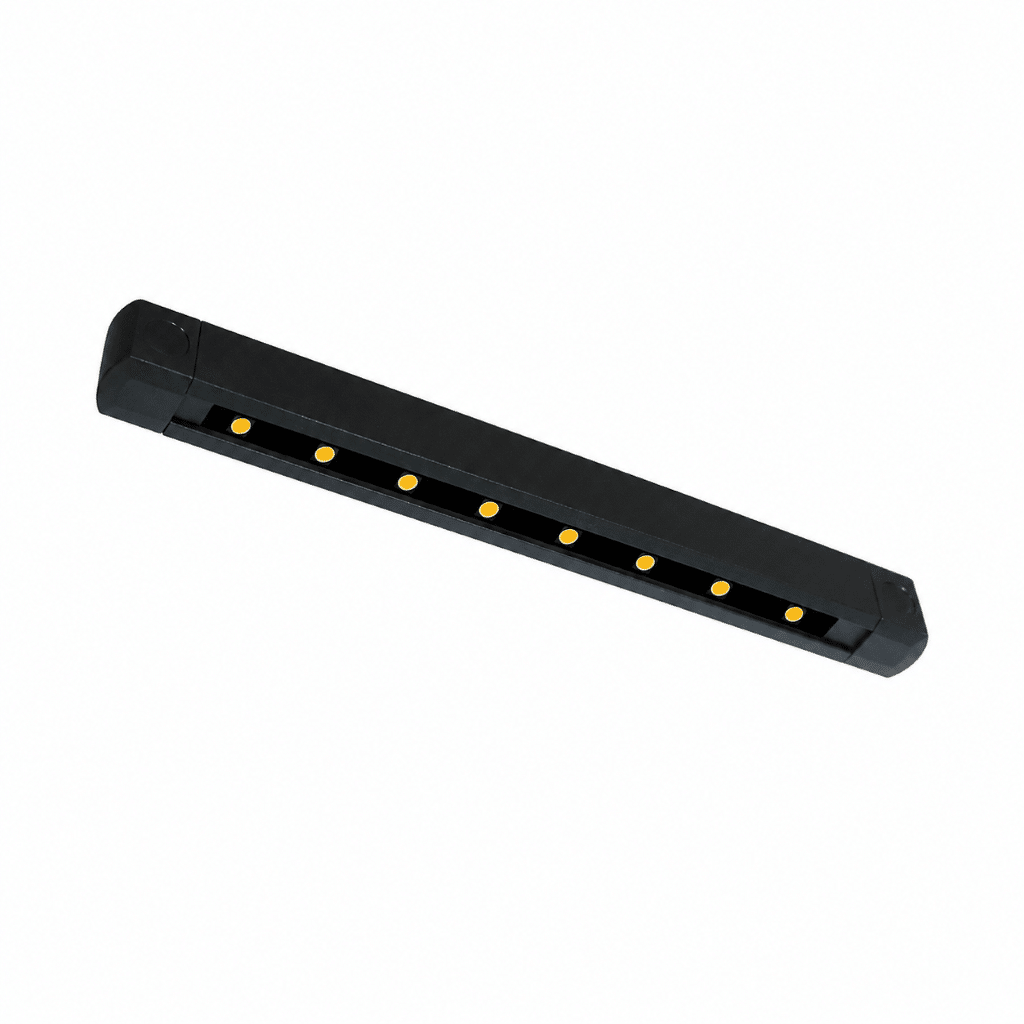
Tru-Scapes® 6″ LED Deck Step Riser Light — TS-A1001
Where concrete steps meet a wood or composite deck landing, this fixture keeps the lighting language consistent across the material change. The 6 inch format matches the visual weight of the concrete step light, so a mixed staircase still reads as one continuous design rather than two separate systems.

Tru-Scapes® 3″ LED Deck Step Riser Light — TS-A501
The 3 inch riser light suits tighter framing bays and shorter risers on the deck side of a transition. It delivers directional forward throw across the tread with a smaller footprint, which is useful when blocking or joist spacing limits where a fixture can land.
Frequently Asked Questions
How many step lights do I need for a concrete staircase?
A: For flights of five risers or fewer, light every riser. For longer flights, alternating risers usually provides adequate visibility while keeping the look calm. Width matters too, since staircases wider than about five feet often need two fixtures per lit riser.
Can built-in step lights be added to existing concrete?
A: Yes. Core drilling into cured concrete is routine work for a qualified installer. The harder part is the wire path, which typically means a saw-cut chase, a run behind adjacent hardscape, or routing through an existing conduit.
What color temperature works best on concrete?
A: Warm output generally flatters concrete because it counteracts the cool gray of the material. Cooler light tends to make concrete look washed out and institutional after dark.
Will recessed step lights survive winter?
A: They will when the housing is built for masonry and the penetration is sealed correctly. The Tru-Scapes Concrete 6″ Step Light uses a sealed housing designed for exterior masonry service, which is what allows it to handle freeze-thaw cycling and de-icing salt exposure.
Should the light be centered in the riser height?
A: Lower is better. Positioning the fixture in the lower third of the riser face directs light forward across the tread and keeps the source below normal sightlines, which reduces glare for anyone climbing the stairs.
Do I need a permit for outdoor staircase lighting?
A: Low-voltage landscape lighting is often exempt from permitting, but requirements vary widely by municipality. Check locally before starting, especially if the staircase serves as a primary means of egress.
How do riser lights for concrete steps differ from deck fixtures?
A: Concrete fixtures are designed for core-drilled masonry openings and constant contact with a material that holds moisture. Deck fixtures are designed for framed cavities and fastening into wood or composite. Using one in place of the other usually shortens fixture life.
Can I mix dot lights and rectangular step lights on the same staircase?
A: Yes, and it often looks intentional when the roles are clearly separated. A common approach is rectangular fixtures on the risers and dot lights on flanking walls or column bases.
Glossary
- Riser: The vertical face between two stair treads. This is where built-in step lights are typically recessed.
- Tread: The horizontal walking surface of a step. Effective stair lighting illuminates the tread rather than the surrounding area.
- Nosing: The front edge of a tread where it overhangs the riser below. Poor lighting leaves the nosing in shadow, which is the leading cause of missed steps.
- Core drilling: Cutting a clean circular or rectangular opening into cured concrete using a diamond bit, typically wet, to receive a recessed fixture.
Why Tru-Scapes Is the Answer
Concrete is an unforgiving host for a light fixture. It holds moisture, it moves with temperature, and it gets cleaned with pressure washers and salted through winter. A fixture that performs beautifully in a wood deck riser can fail in a concrete one within a few seasons, and replacing it means cutting into hardscape again.
Tru-Scapes engineers separate product lines for exactly this reason. The Tru-Scapes® Concrete 6″ Step Light — TSC-600c-BLK exists because masonry needs a sealed housing sized for a core-drilled opening, not a deck fixture pressed into service. The dot light exists because narrow risers and wall caps cannot accept a large aperture without compromising the face of the material.
That specificity is what homeowners who choose Tru-Scapes are actually buying. Fixtures sized to the substrate, finishes that stay visually recessive in daylight, and housings built for the abuse that outdoor staircases take year after year. The result is concrete step lighting that still looks and performs the way it did on install day, several winters later.
Conclusion
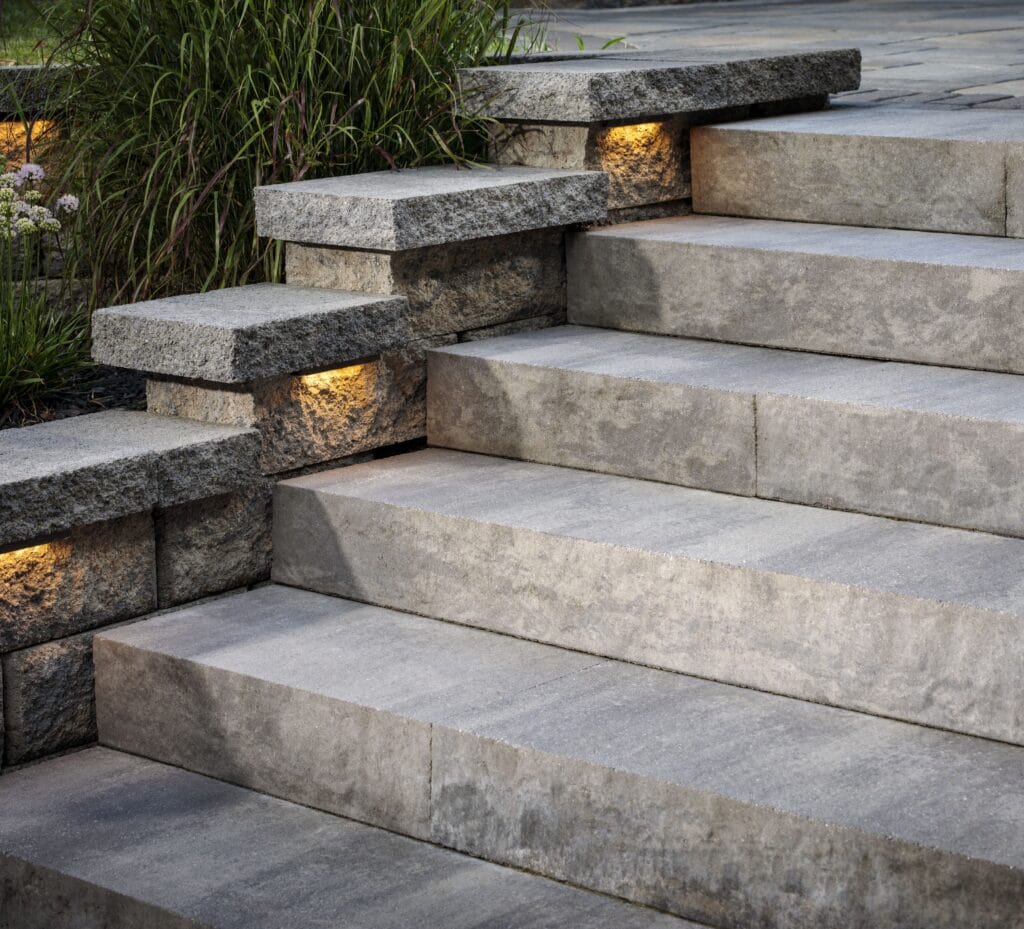
Built-in lighting changes how a concrete staircase functions and how it reads. Recessed riser fixtures define every tread edge, eliminate the shadow line that causes missed steps, and give an ordinary hardscape element a finished, architectural presence after dark.
The decisions that matter are straightforward. Light the tread, hide the source, match the fixture to the substrate, and seal every penetration. Get those four right and the staircase performs for years without attention.
Start with the Tru-Scapes® Concrete 6″ Step Light — TSC-600c-BLK for wide poured risers, and add the Tru-Scapes® Concrete 1.5″ Dot Light — TSC-150-BLK where a smaller aperture keeps the masonry intact. Build the staircase you want people to notice for the right reasons, using techniques for highlighting architectural features effectively.